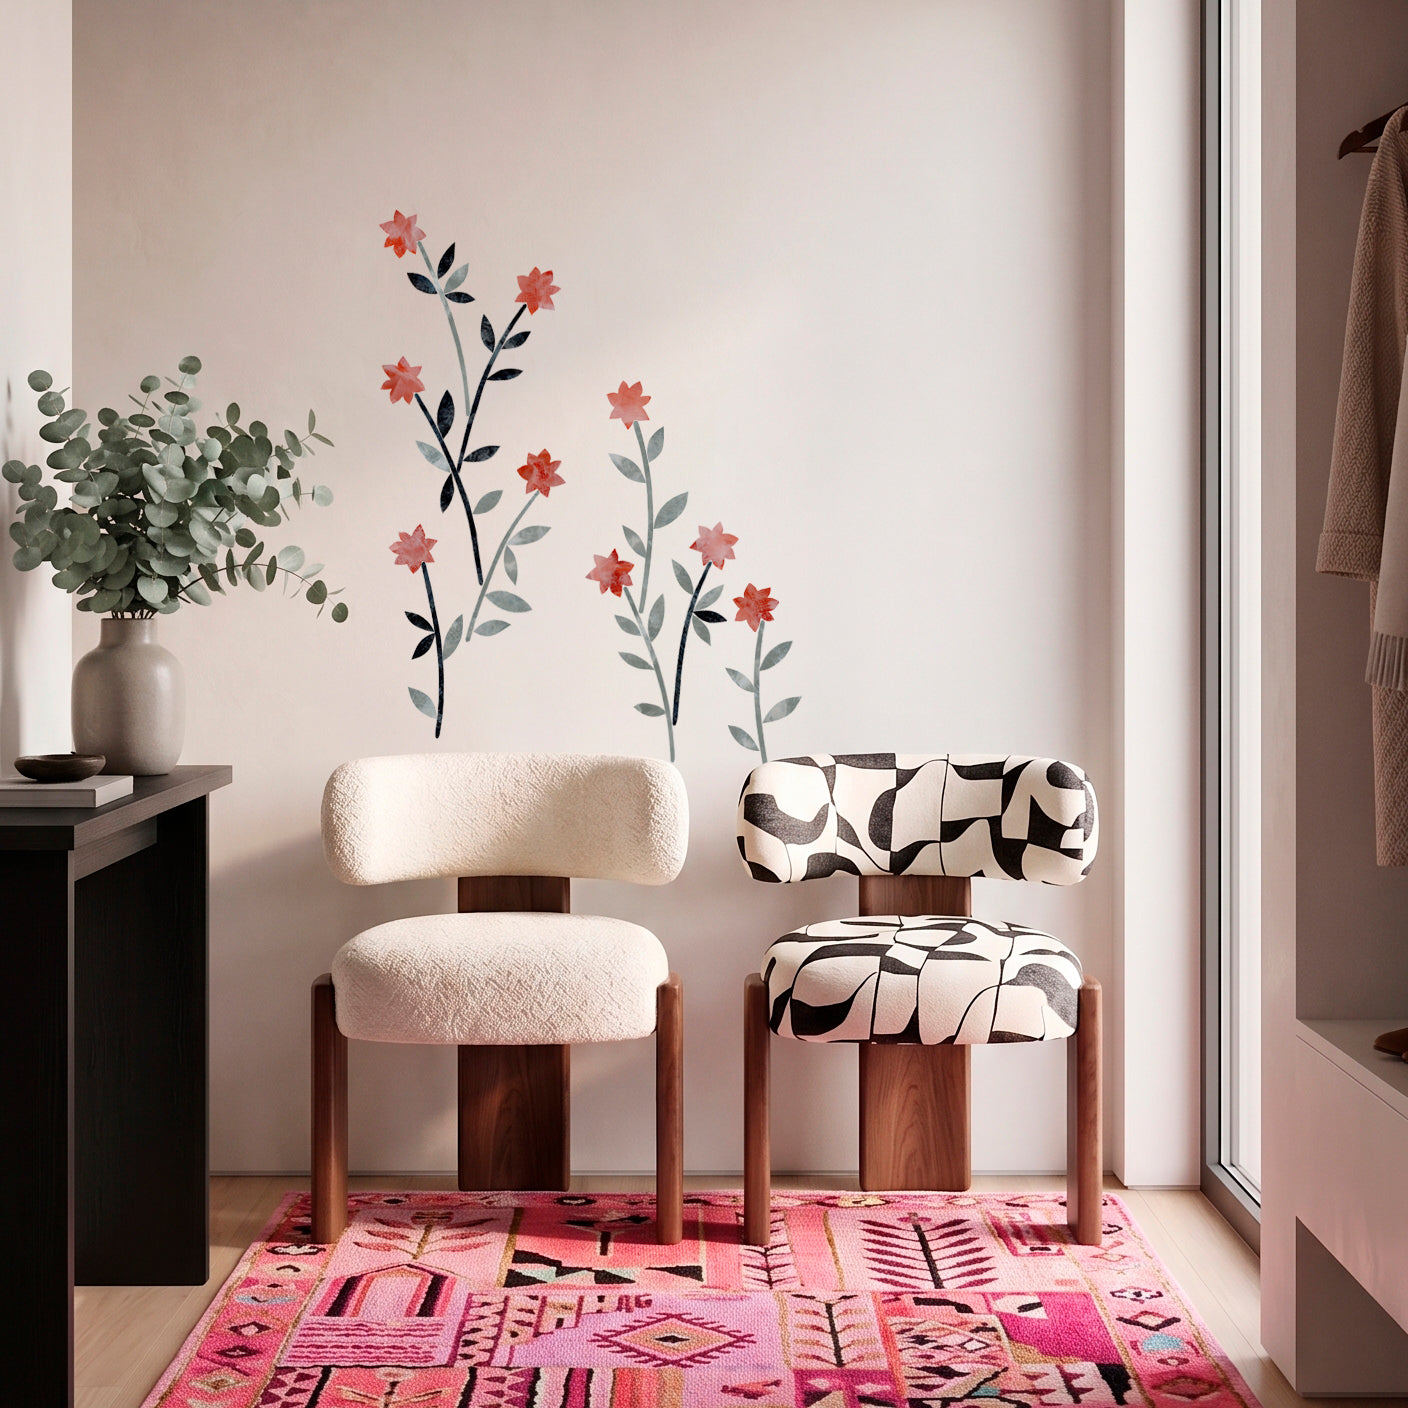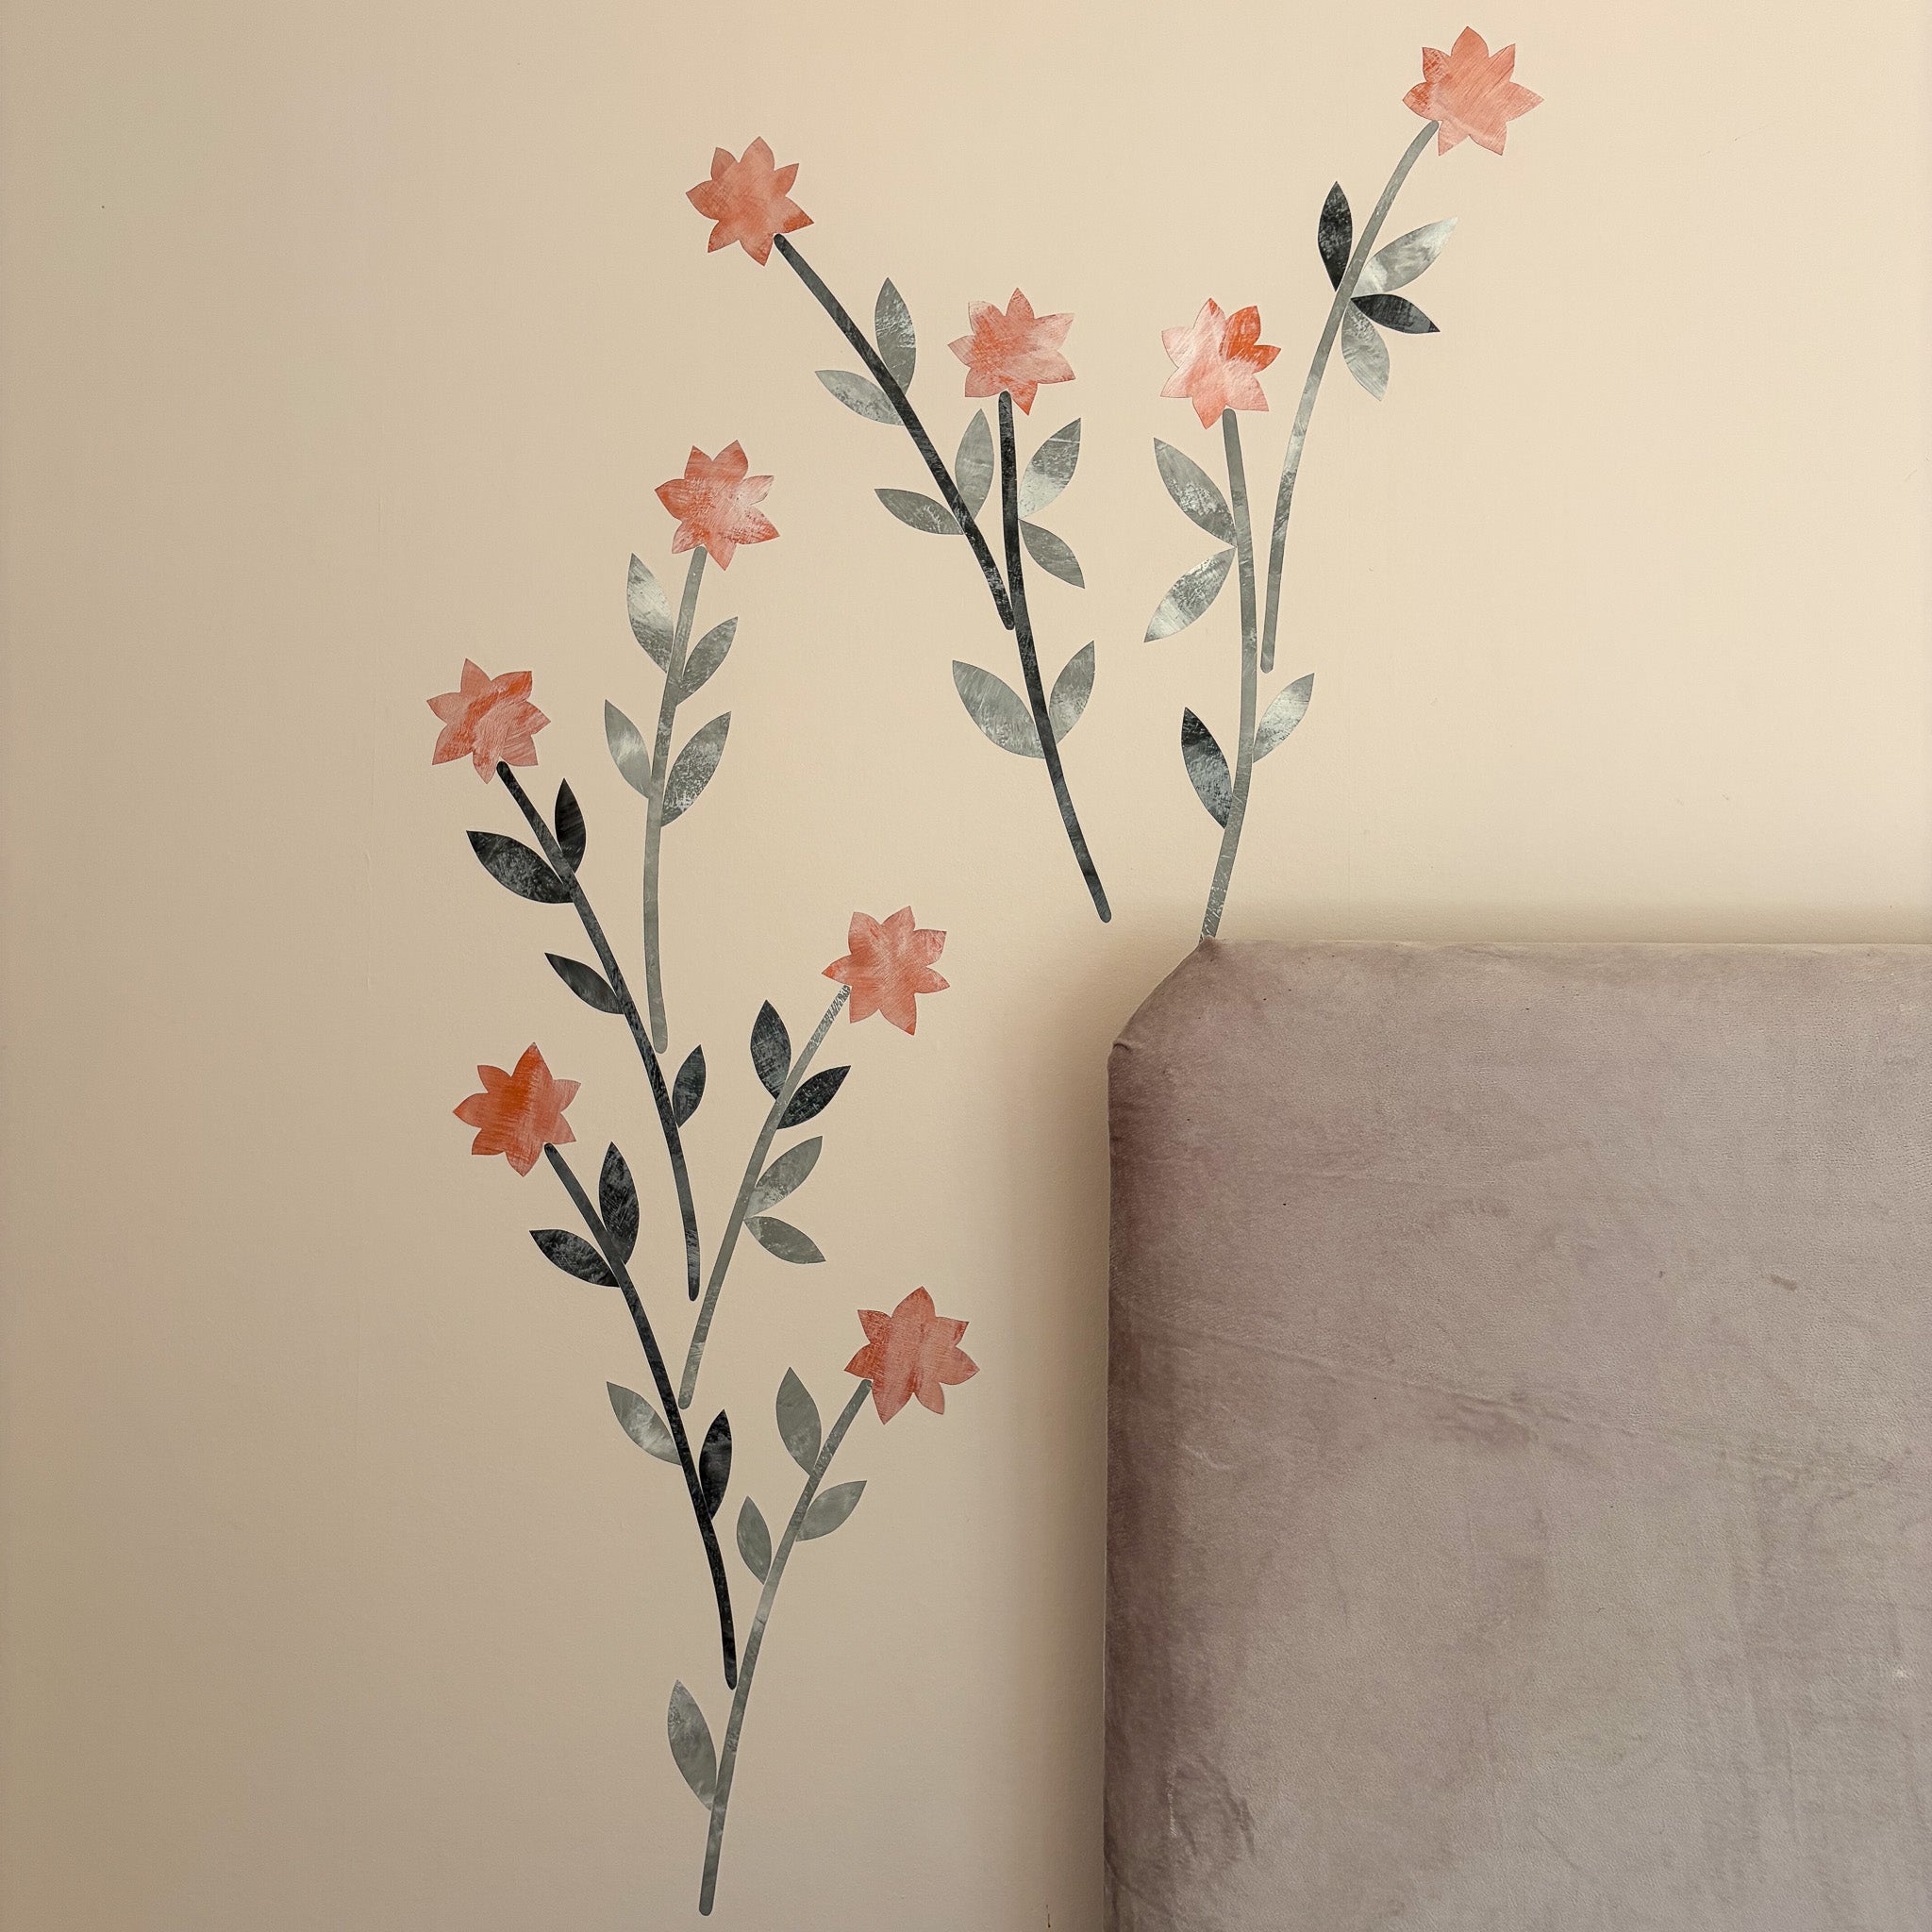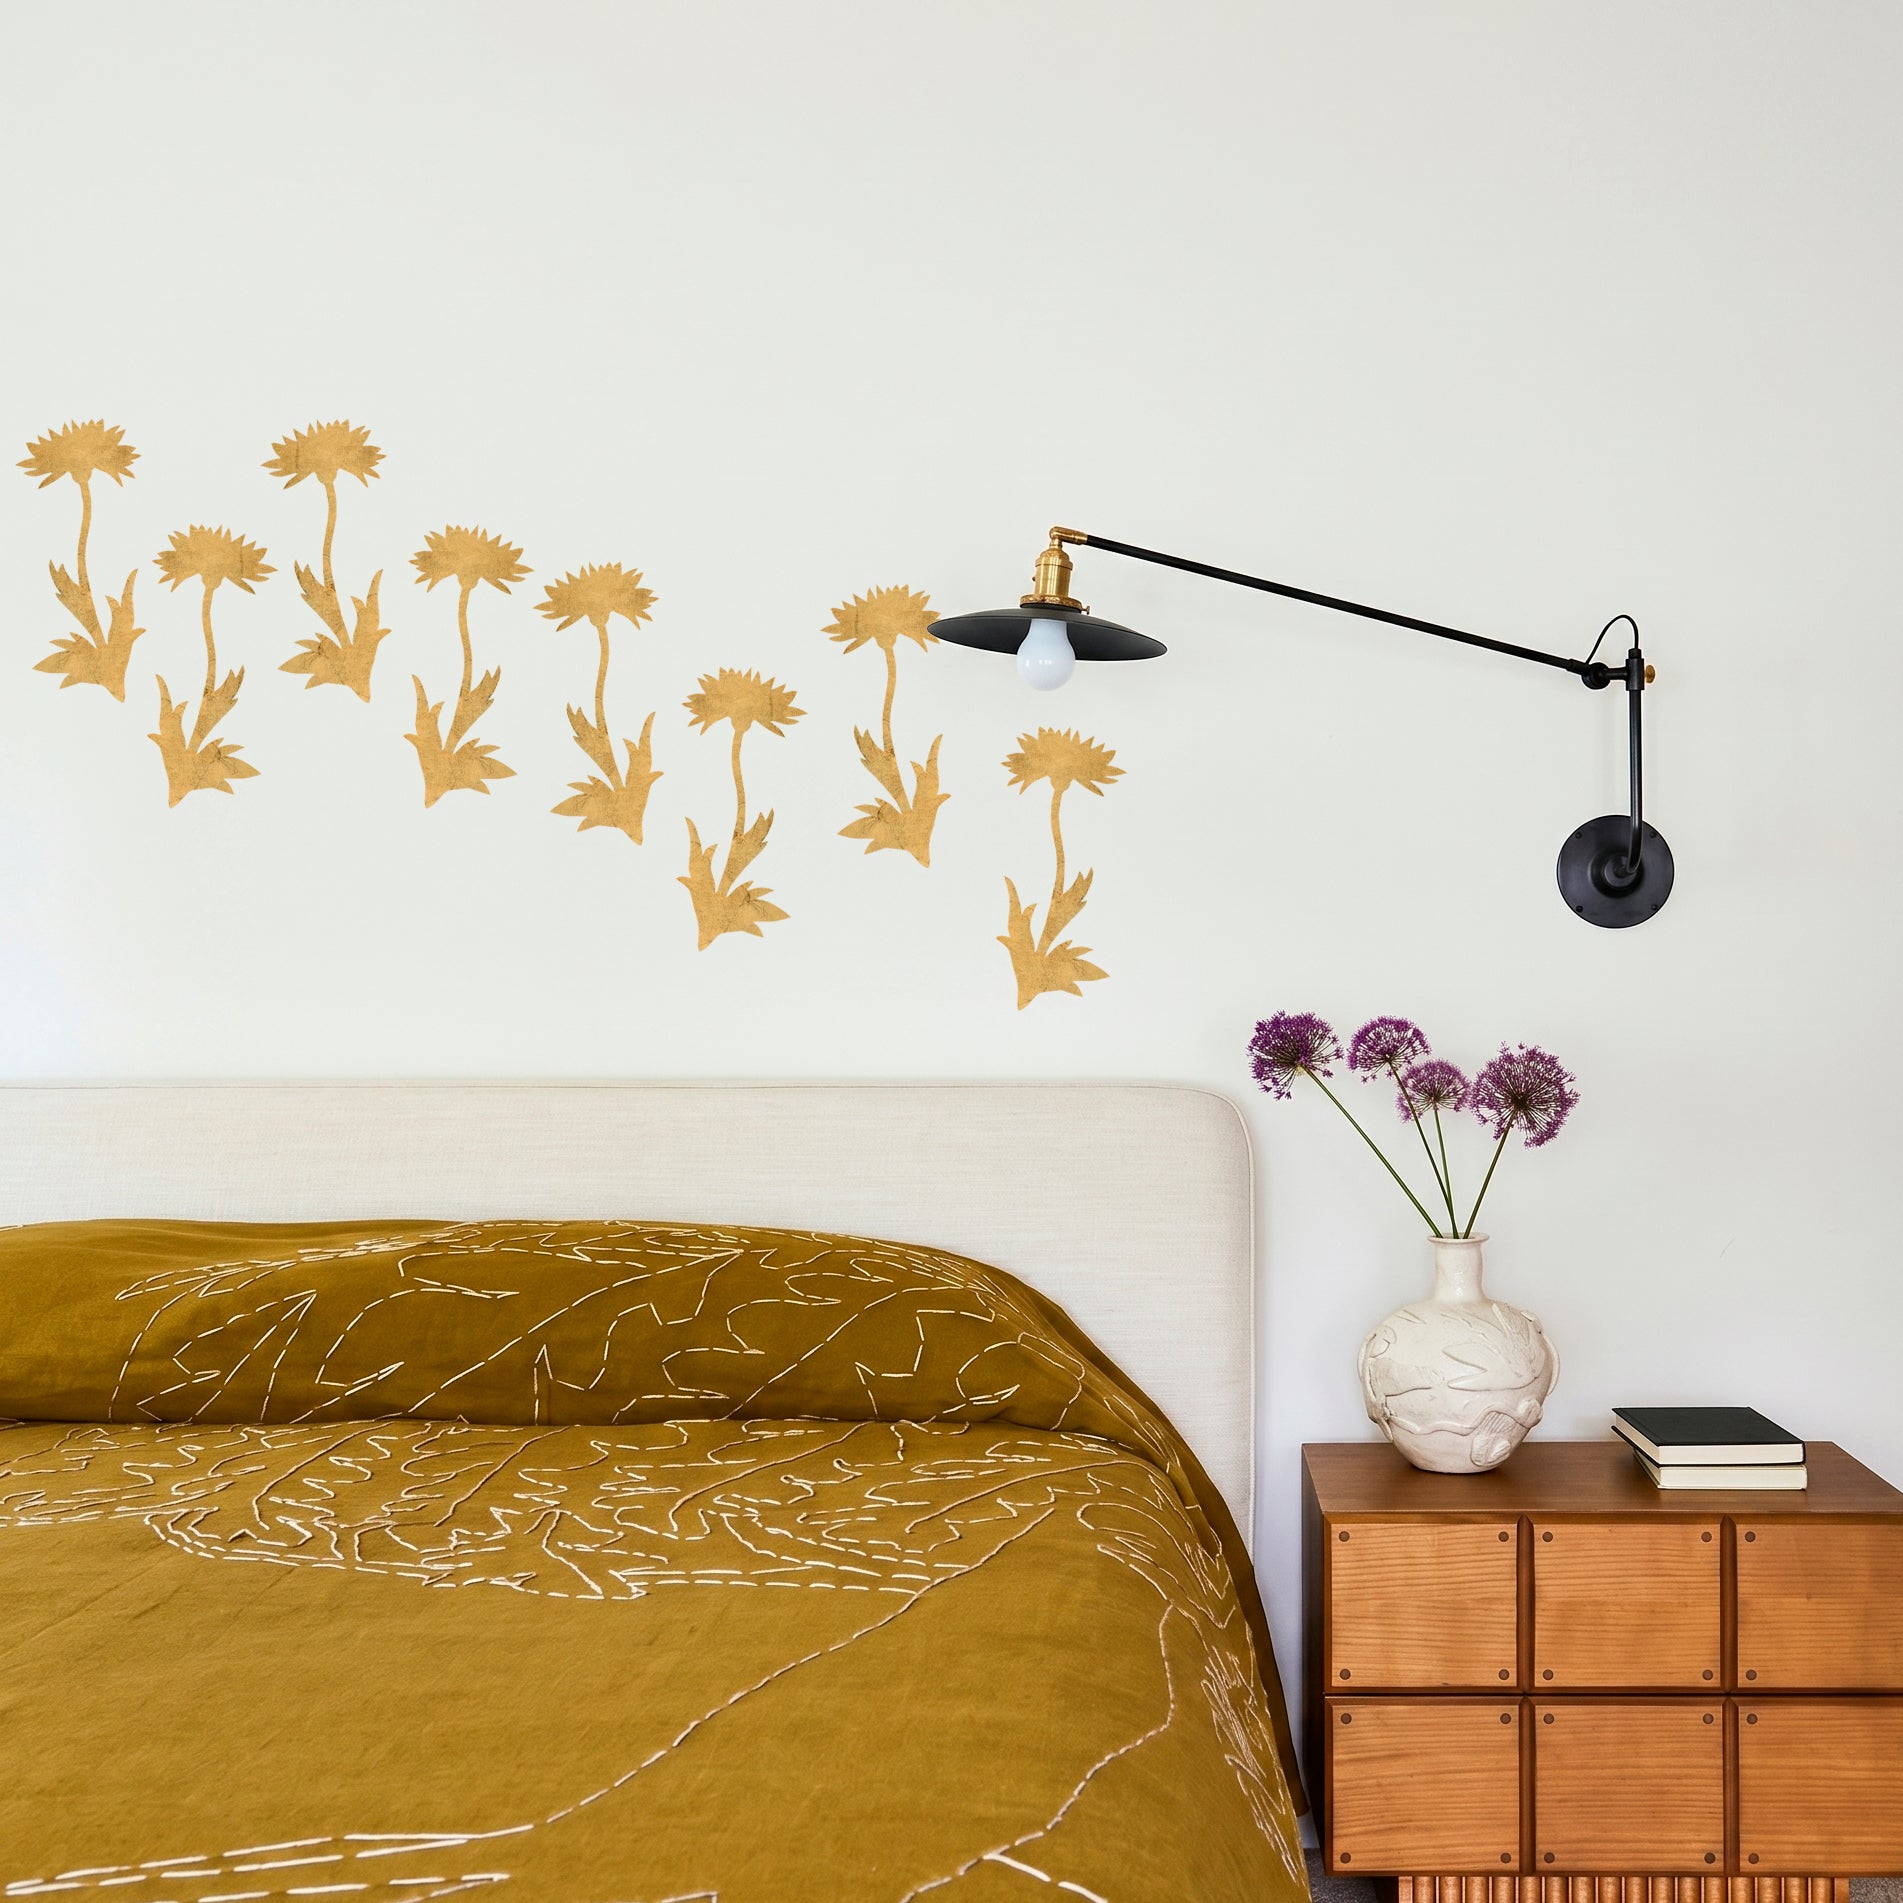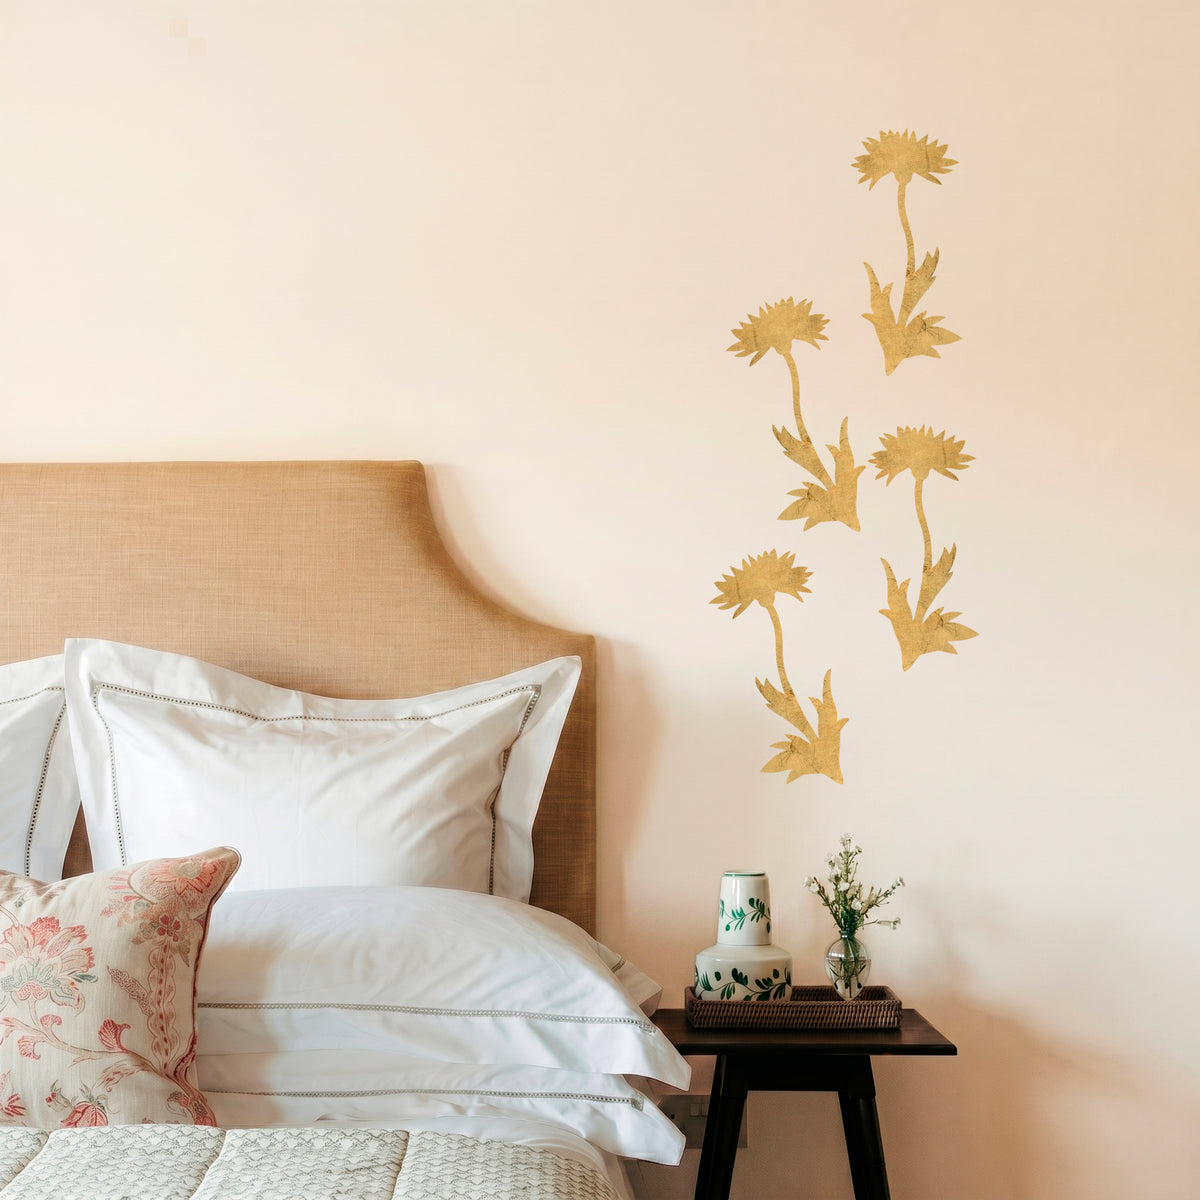
Most bubbles and wrinkles in peel-and-stick wallpaper come from one of two mistakes: pressing the whole piece down at once, or applying it to a wall that wasn't clean and dry first. Fix those two things and the rest is mostly patience. Here's the actual process, step by step.
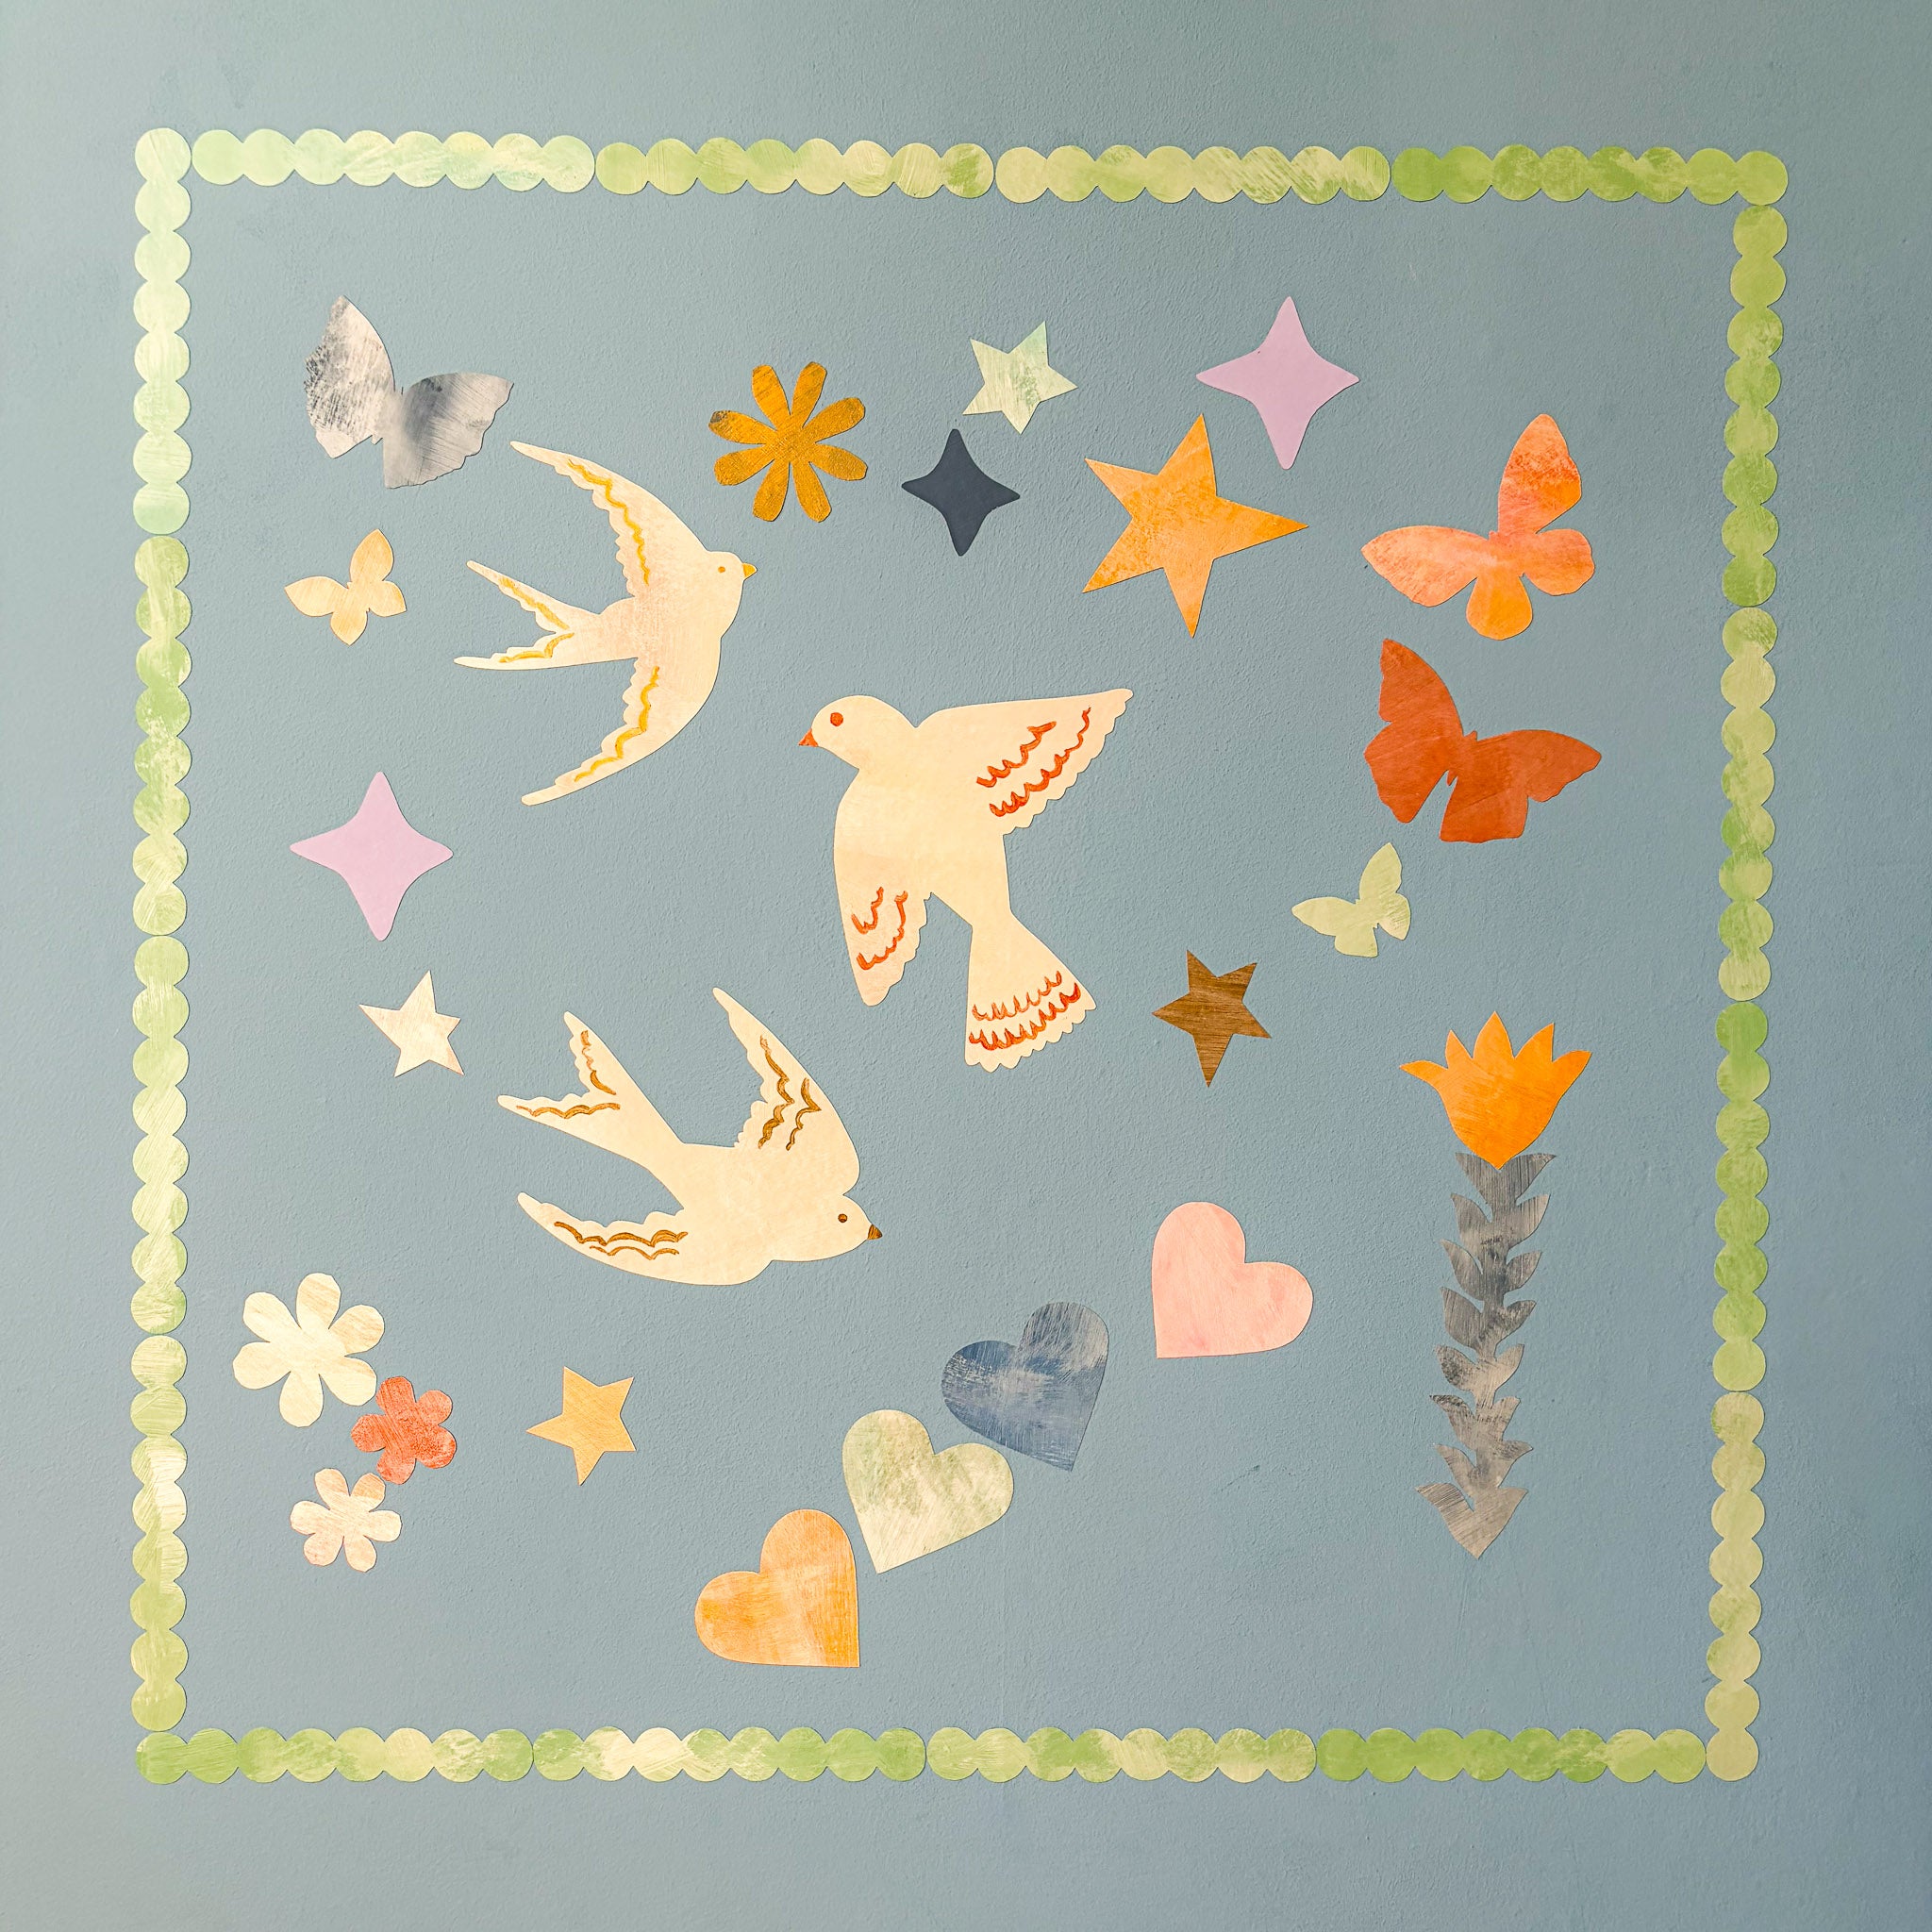
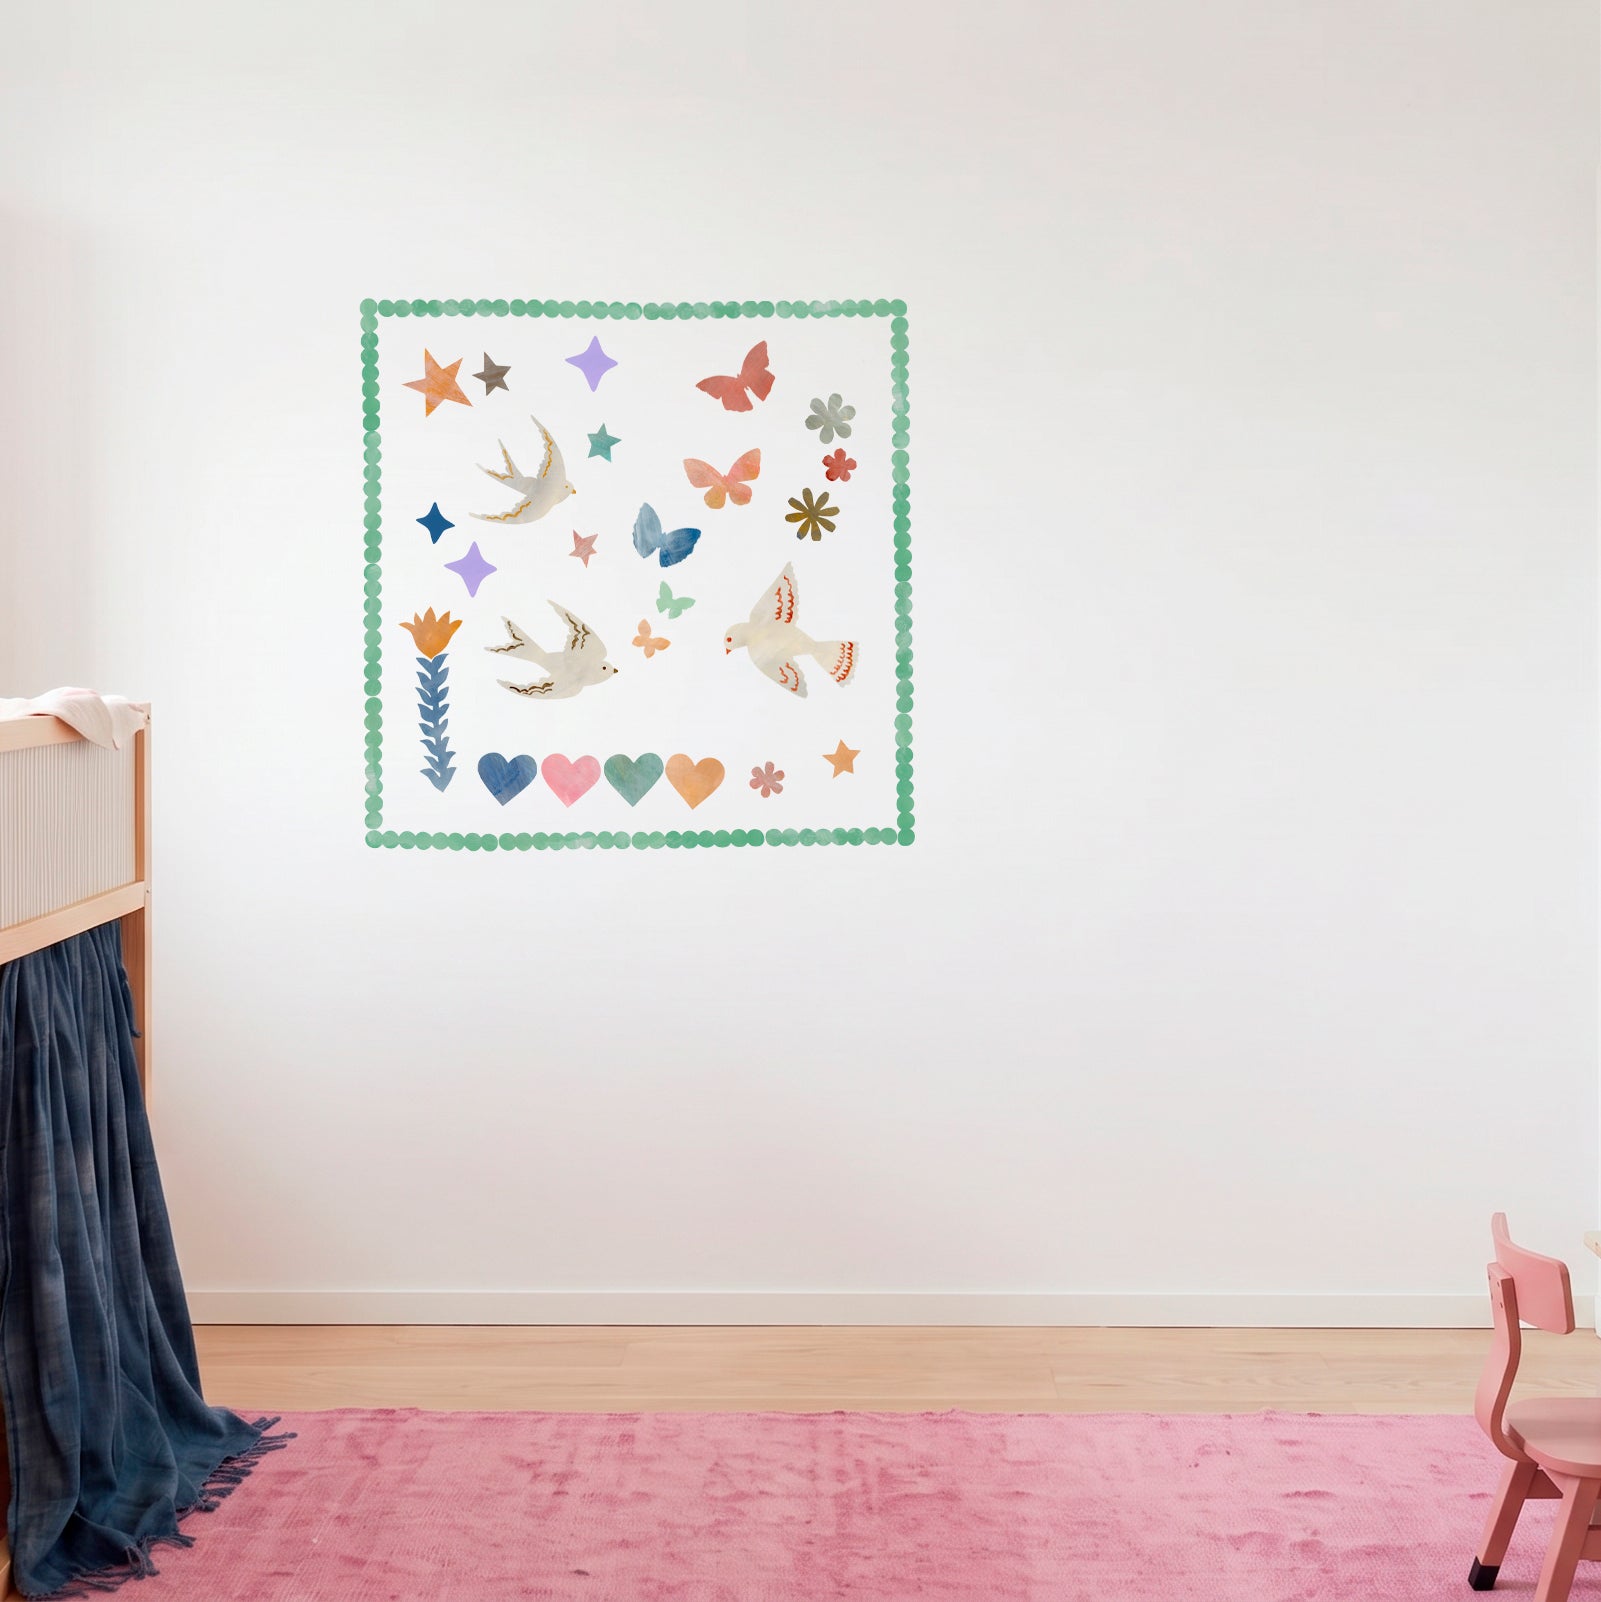
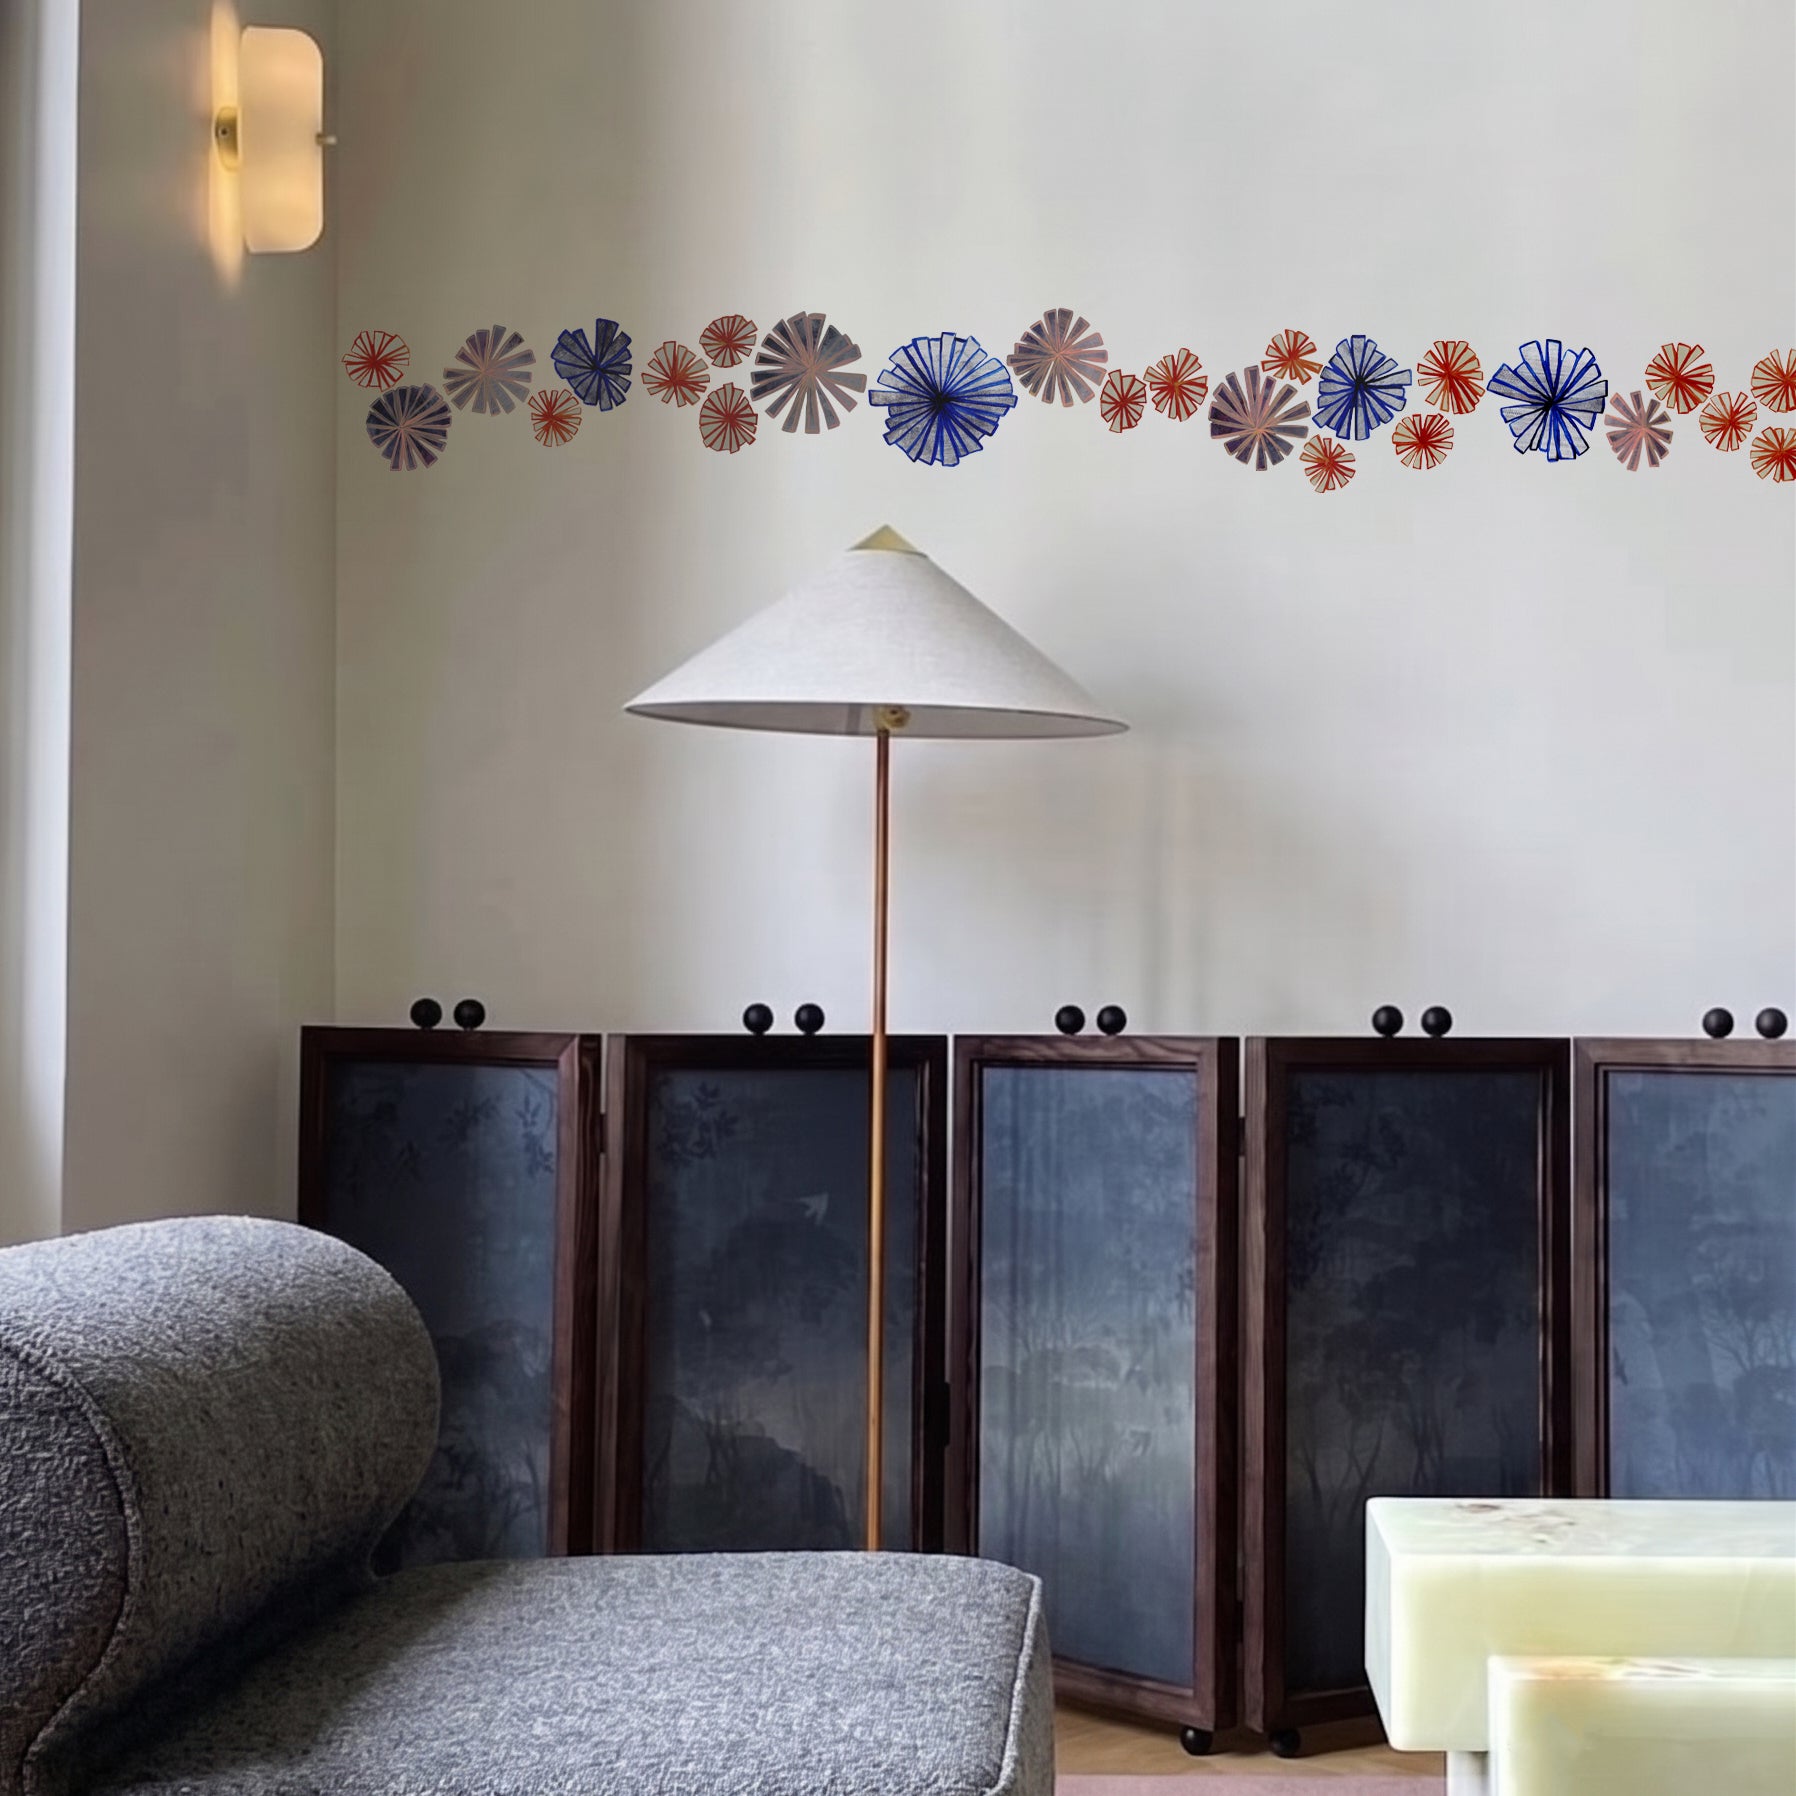
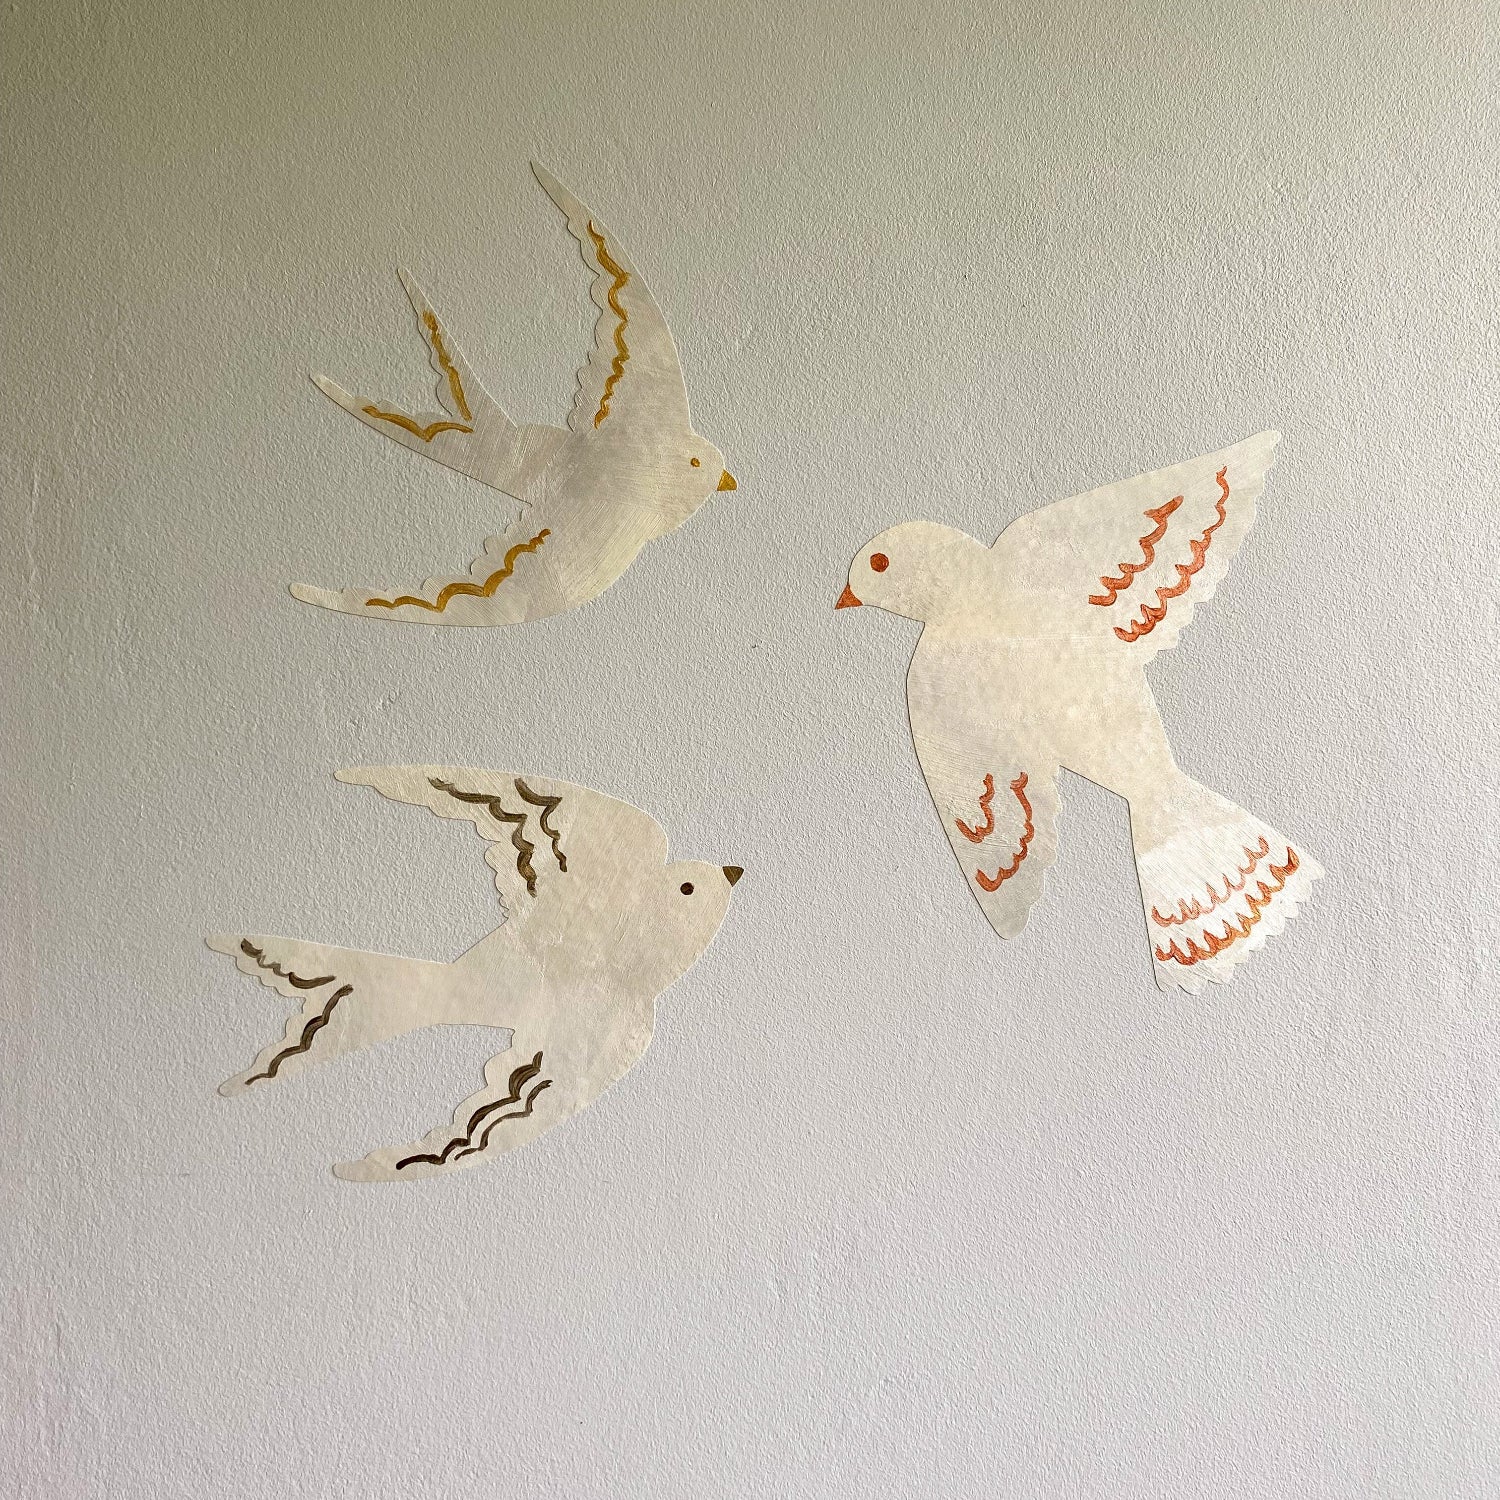
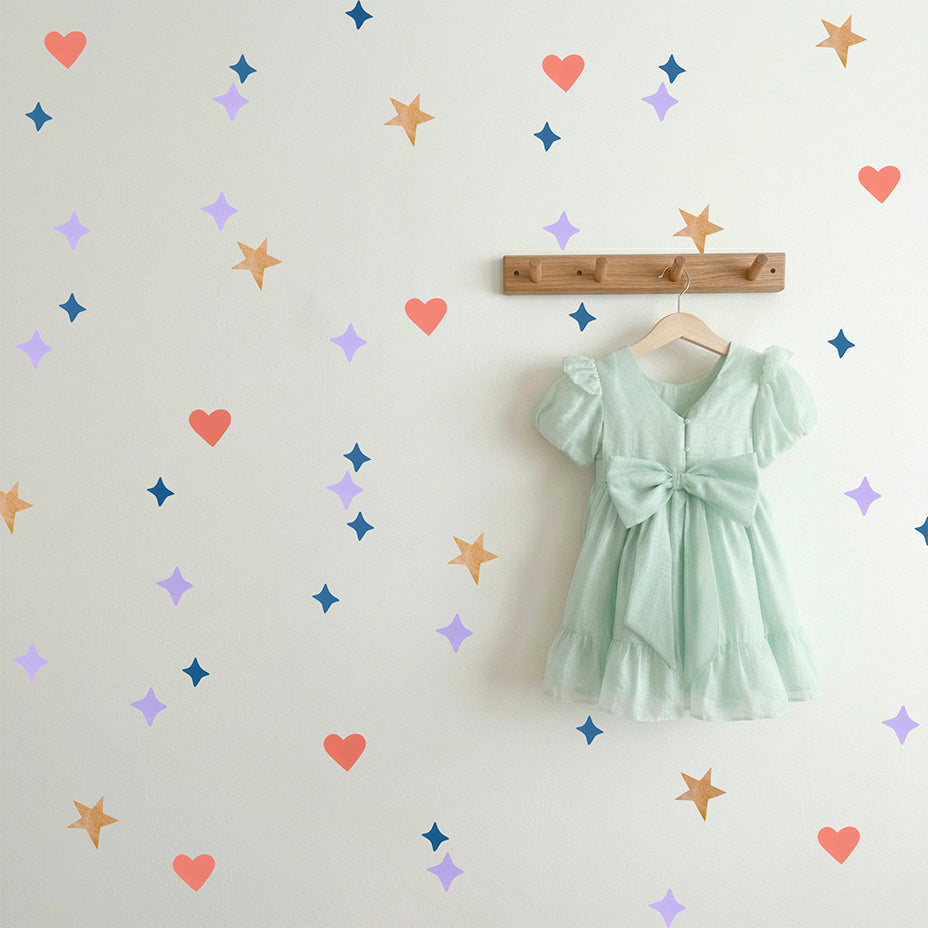
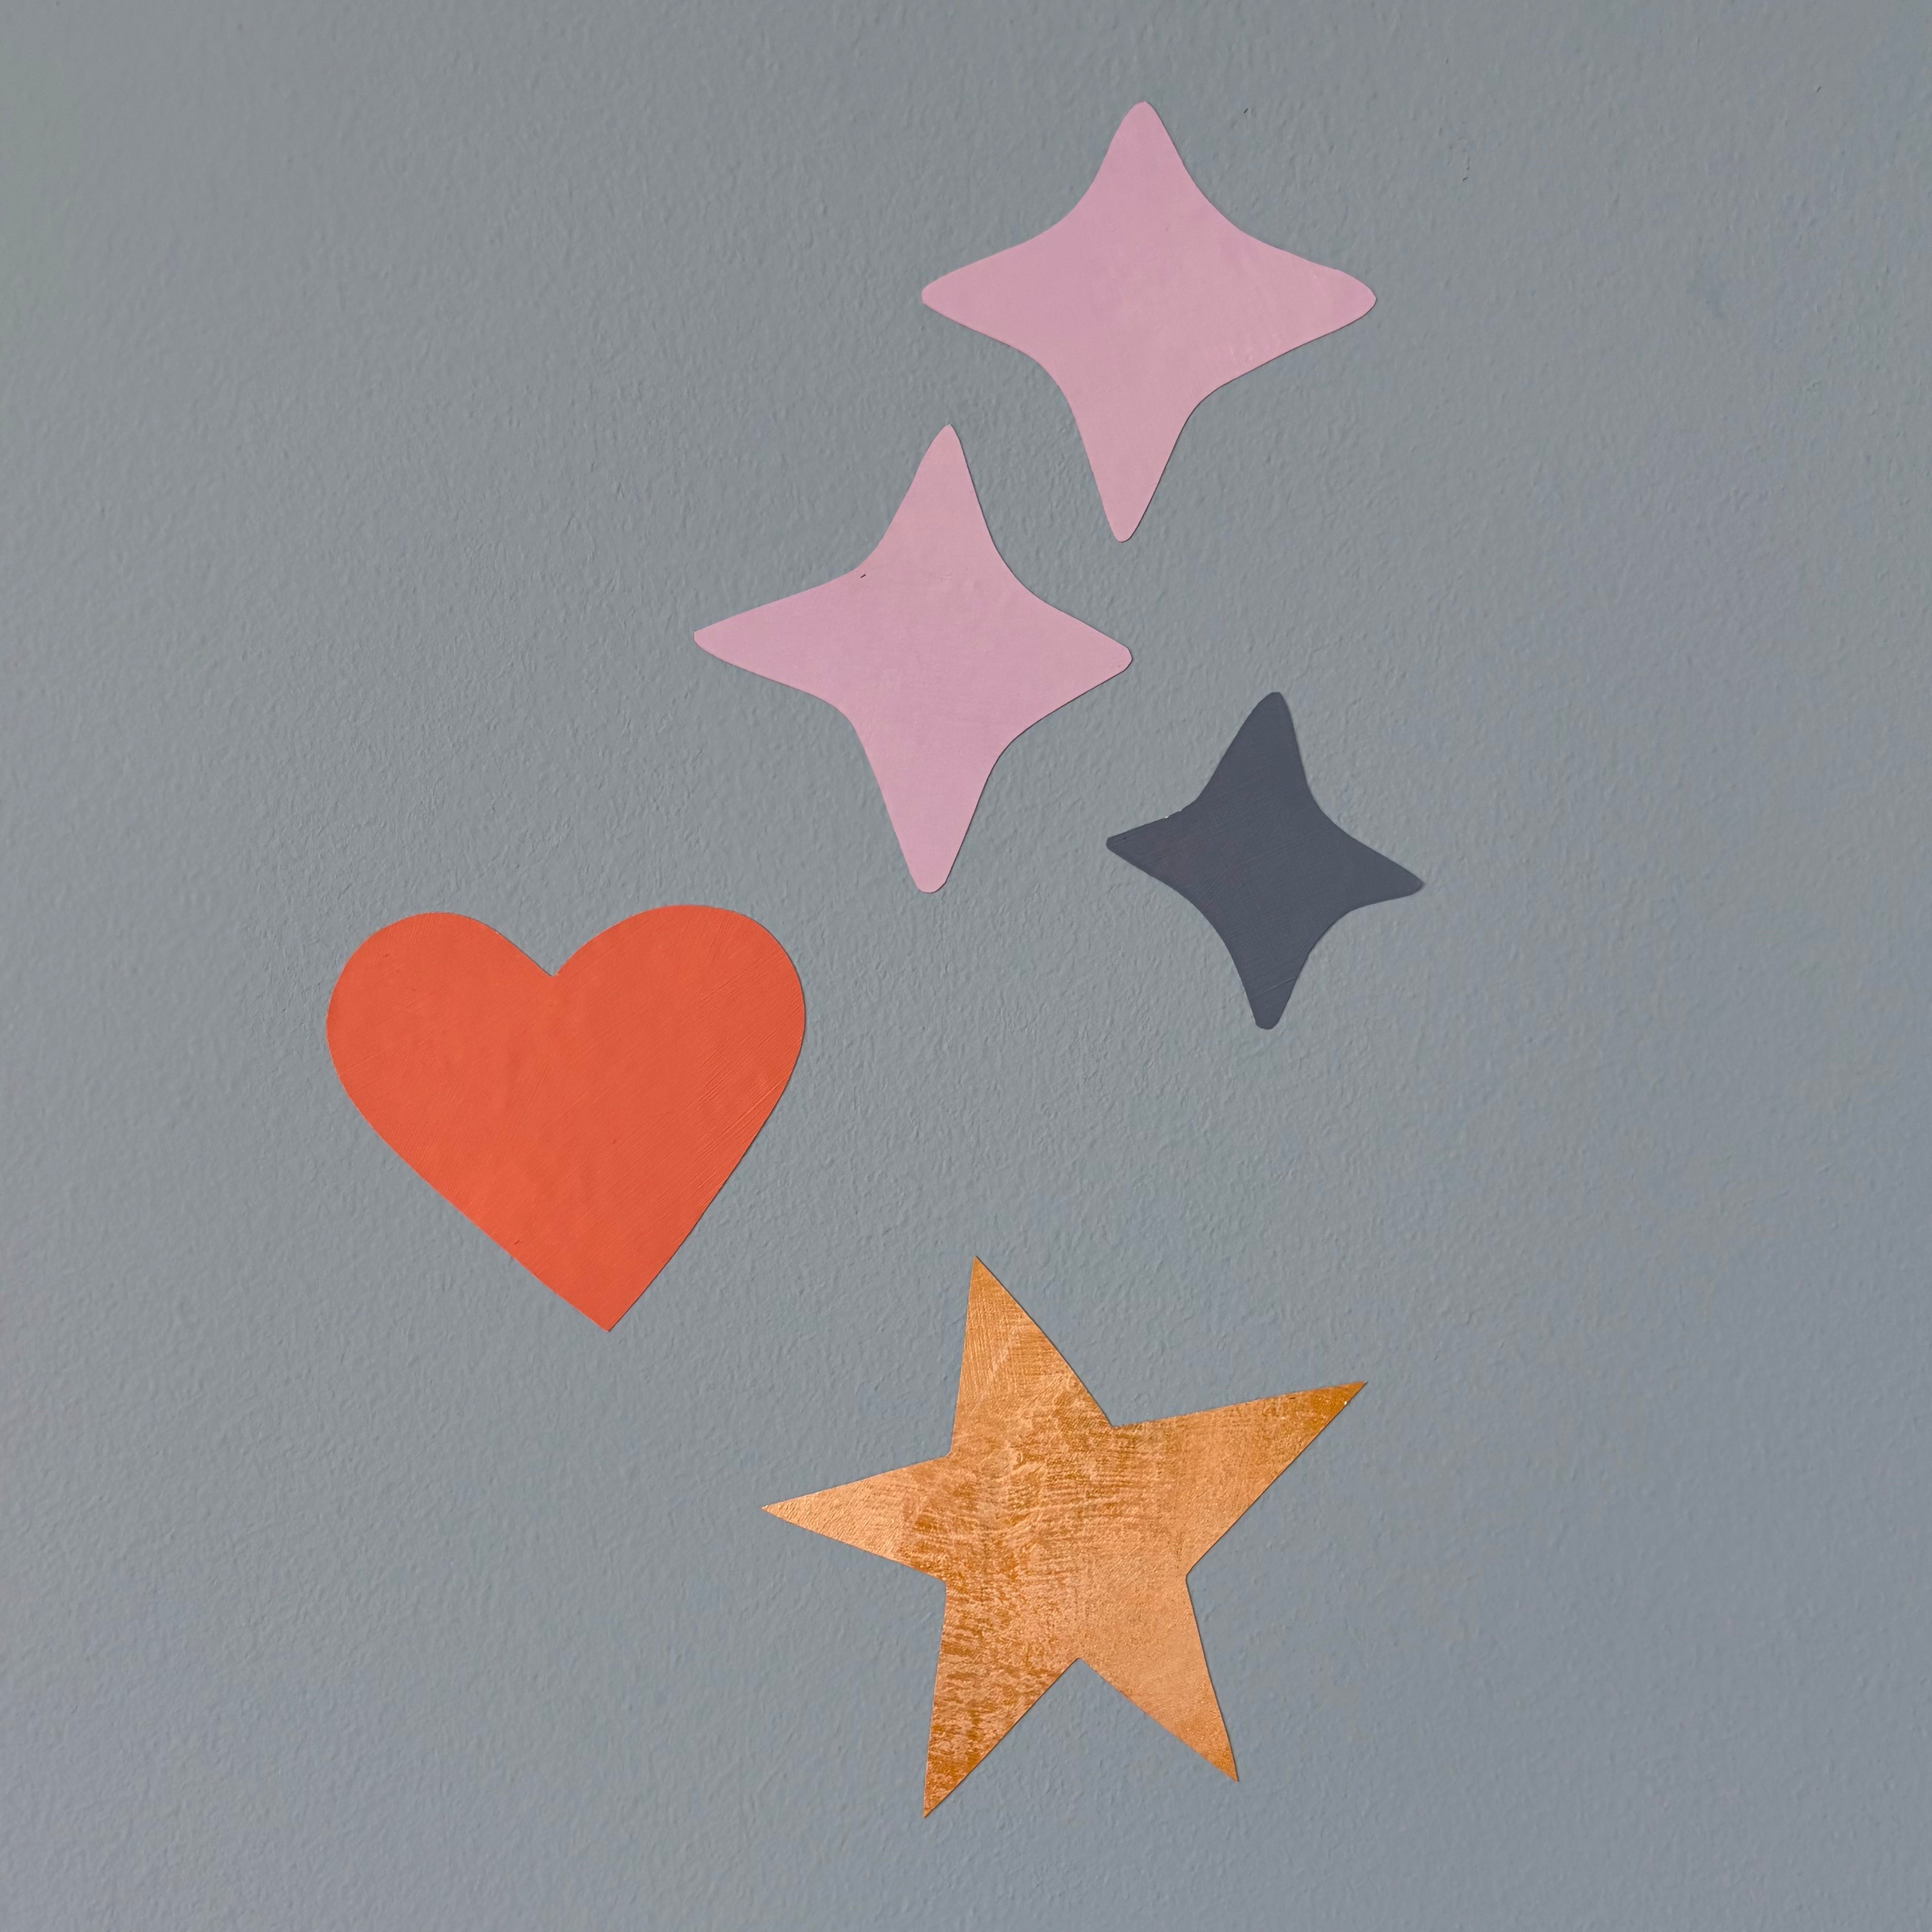
Tonka Papers' self-adhesive wallpaper is die-cut into individual motifs, so it goes up differently than peel-and-stick wallpaper sold by the roll. Everything you need comes with your order — the only time you'll want a spirit level on hand is if you're lining up a border in a straight line.
1. Prep the wall first — this is where most bubbles start
Peel-and-stick wallpaper needs a clean, smooth, dry surface to grip properly. Wipe the wall down with a damp cloth to remove dust, then let it dry completely. If the wall was painted recently, wait at least three to four weeks for the paint to fully cure before applying anything adhesive to it. Applying over dust, or over paint that hasn't cured, is the single most common cause of pieces lifting or bubbling within the first few days.
2. Plan your layout before removing any backing
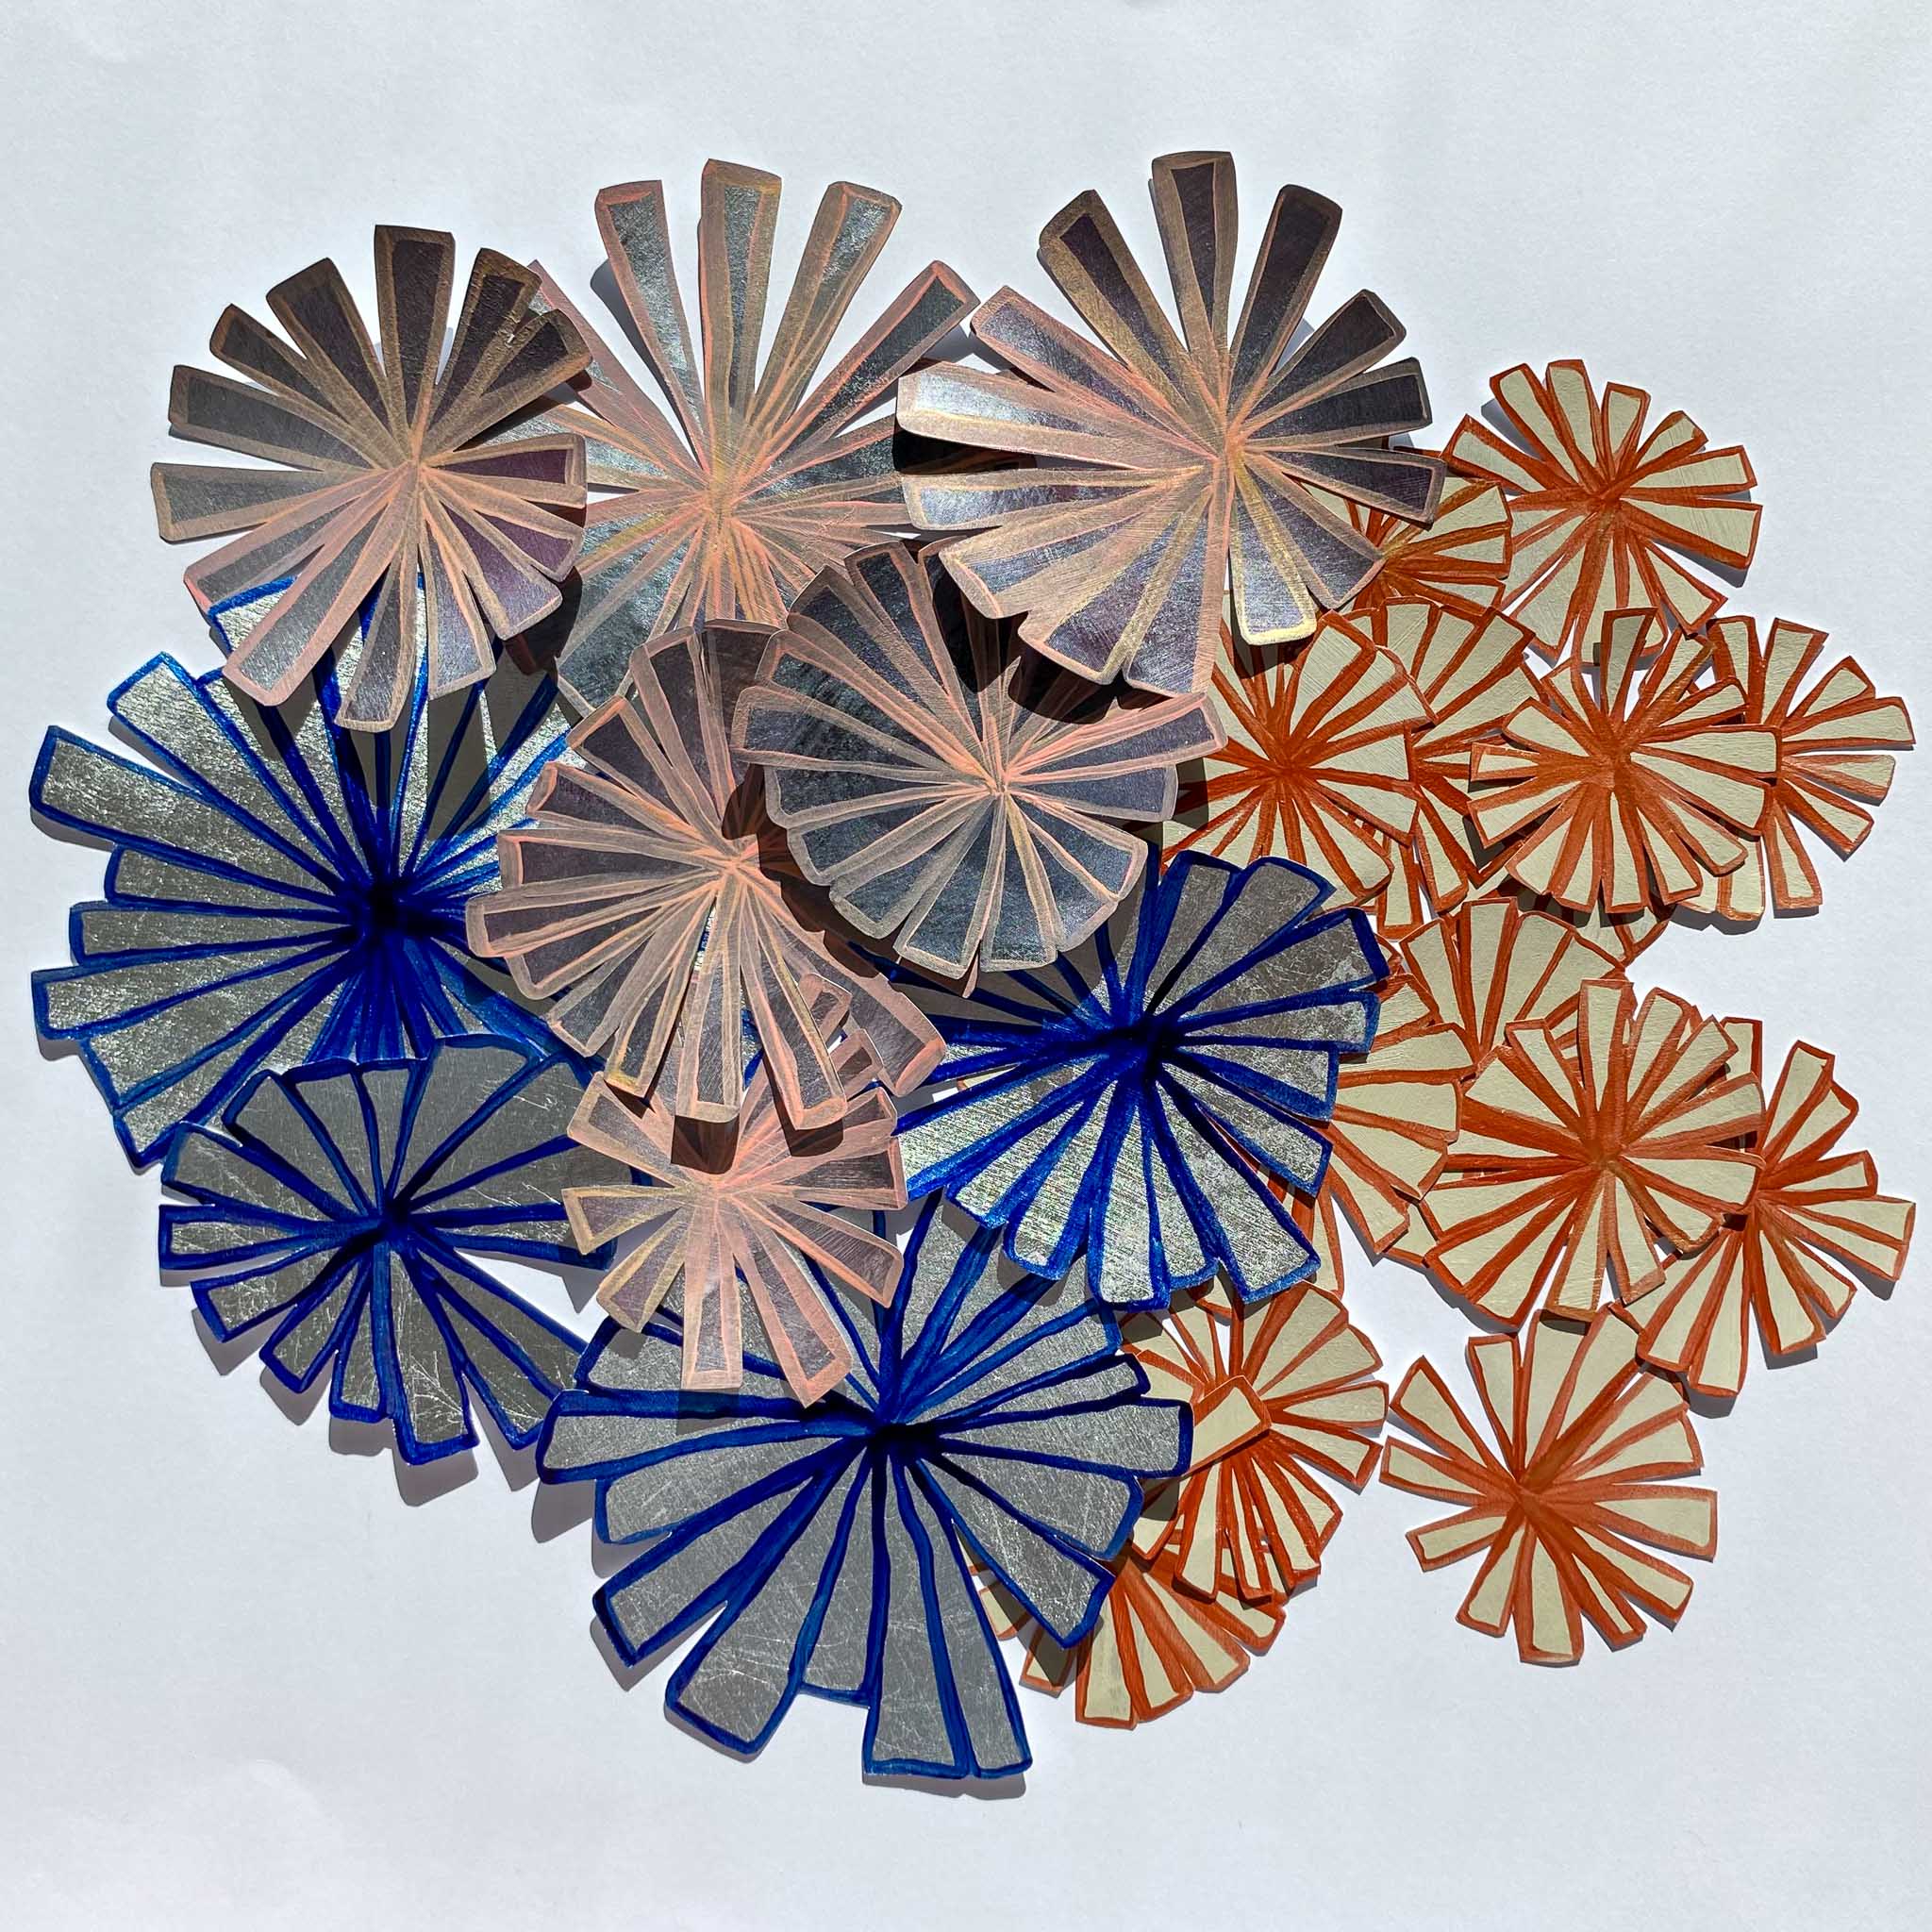
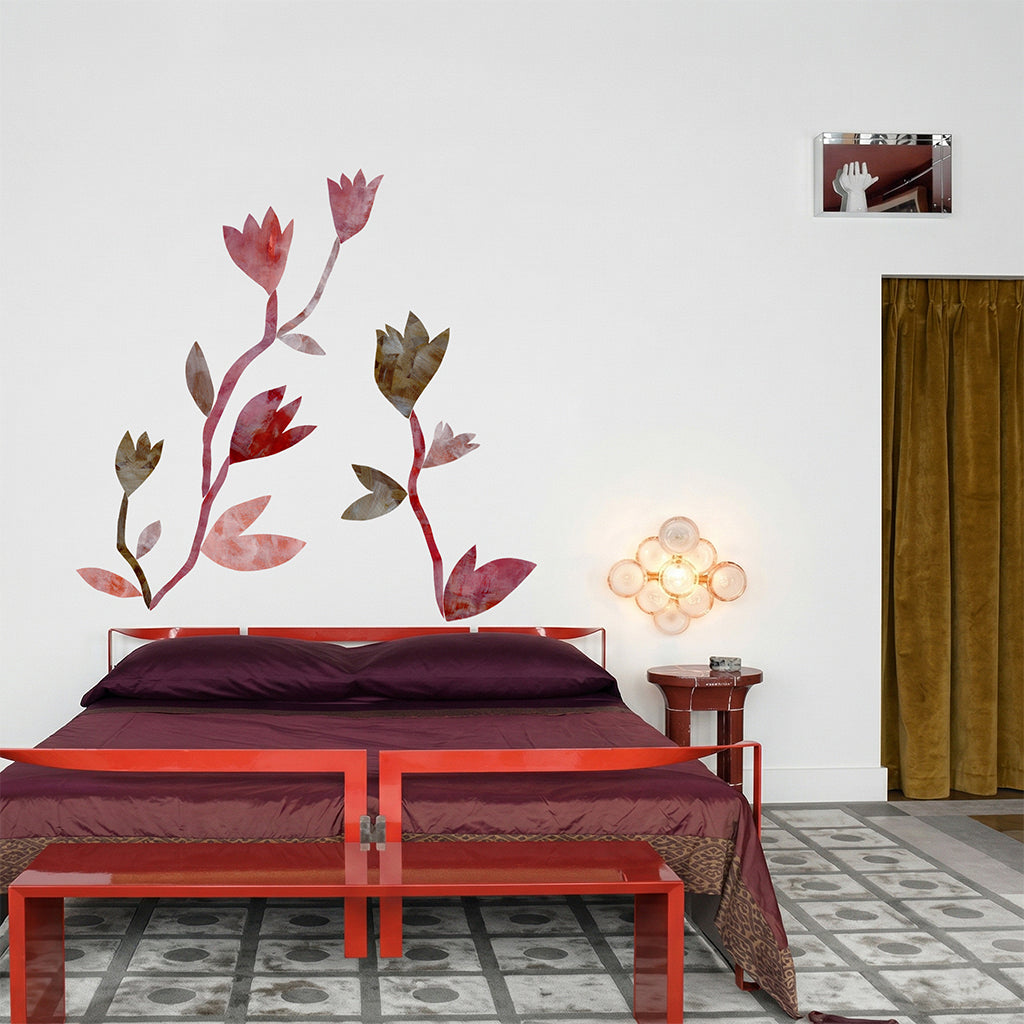
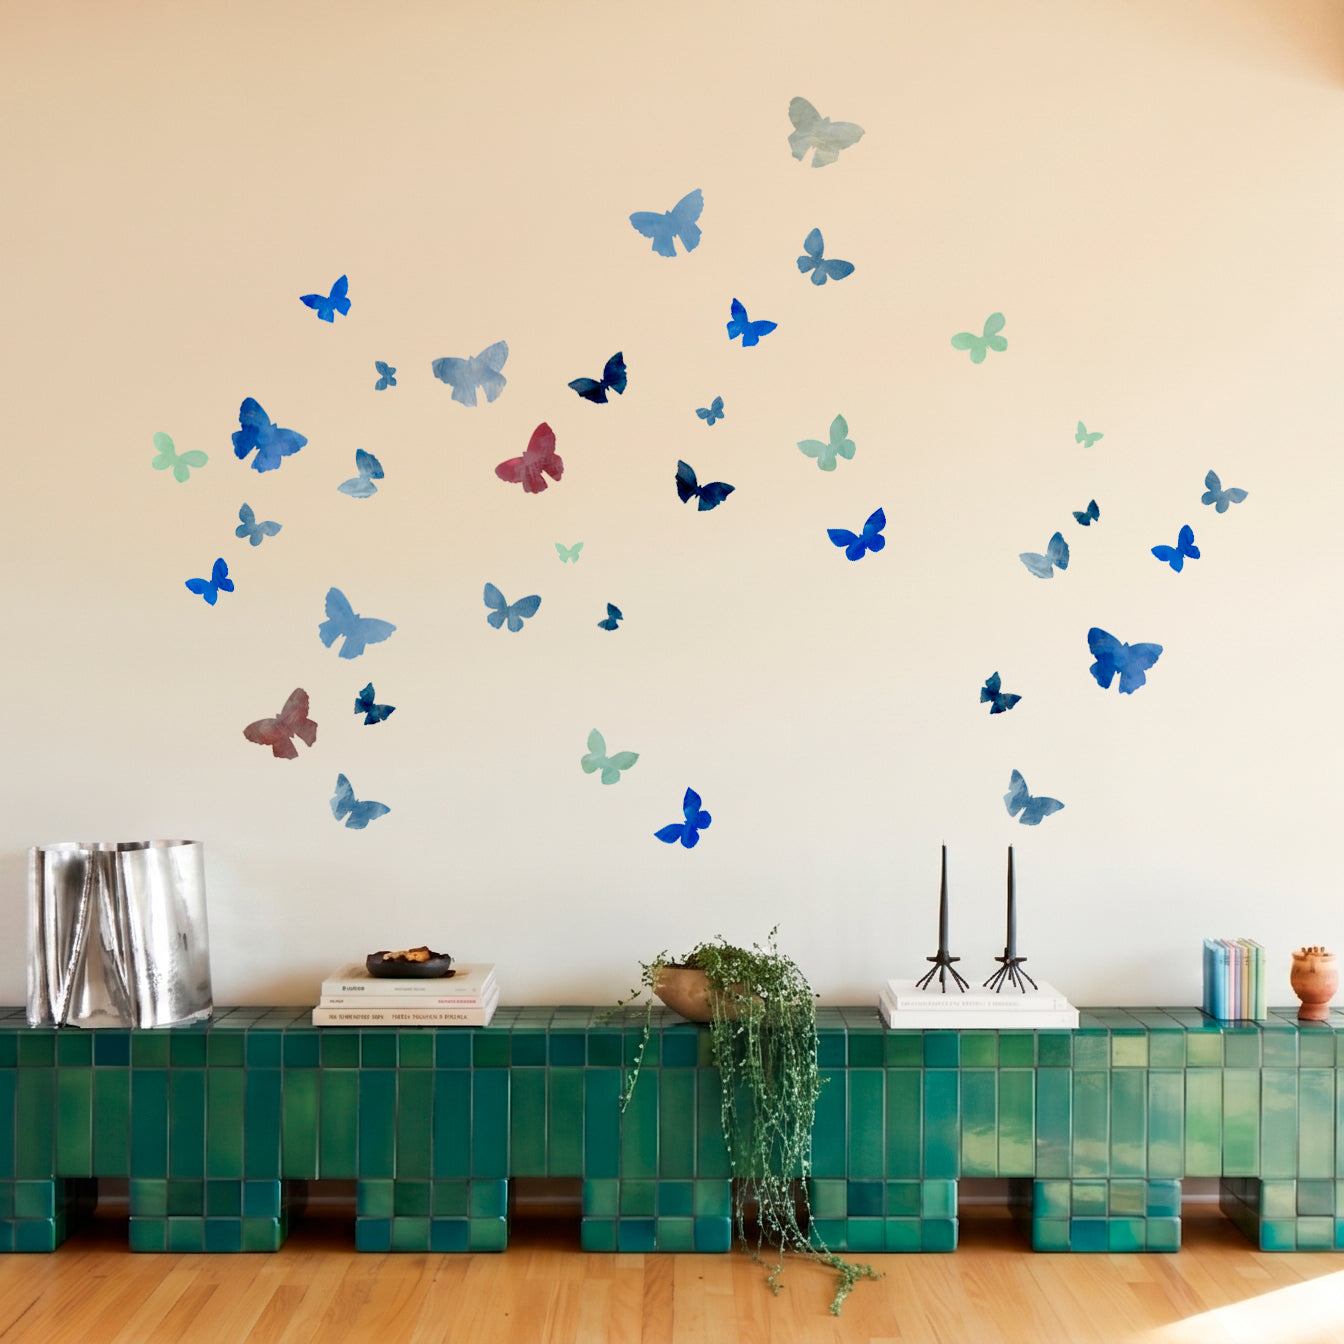
Lay the pieces out on a clean surface and hold them up temporarily with the repositionable putty included with your order, then decide on spacing and arrangement before you commit. This matters more for a set like large flowers or big motifs than it does for the borders — you're deciding composition, not just position. You can put up painter's tape as a guide, or mark light pencil points on the wall if the layout needs to stay level or evenly spaced, then erase them once you're done.
3. Peel the backing a little at a time
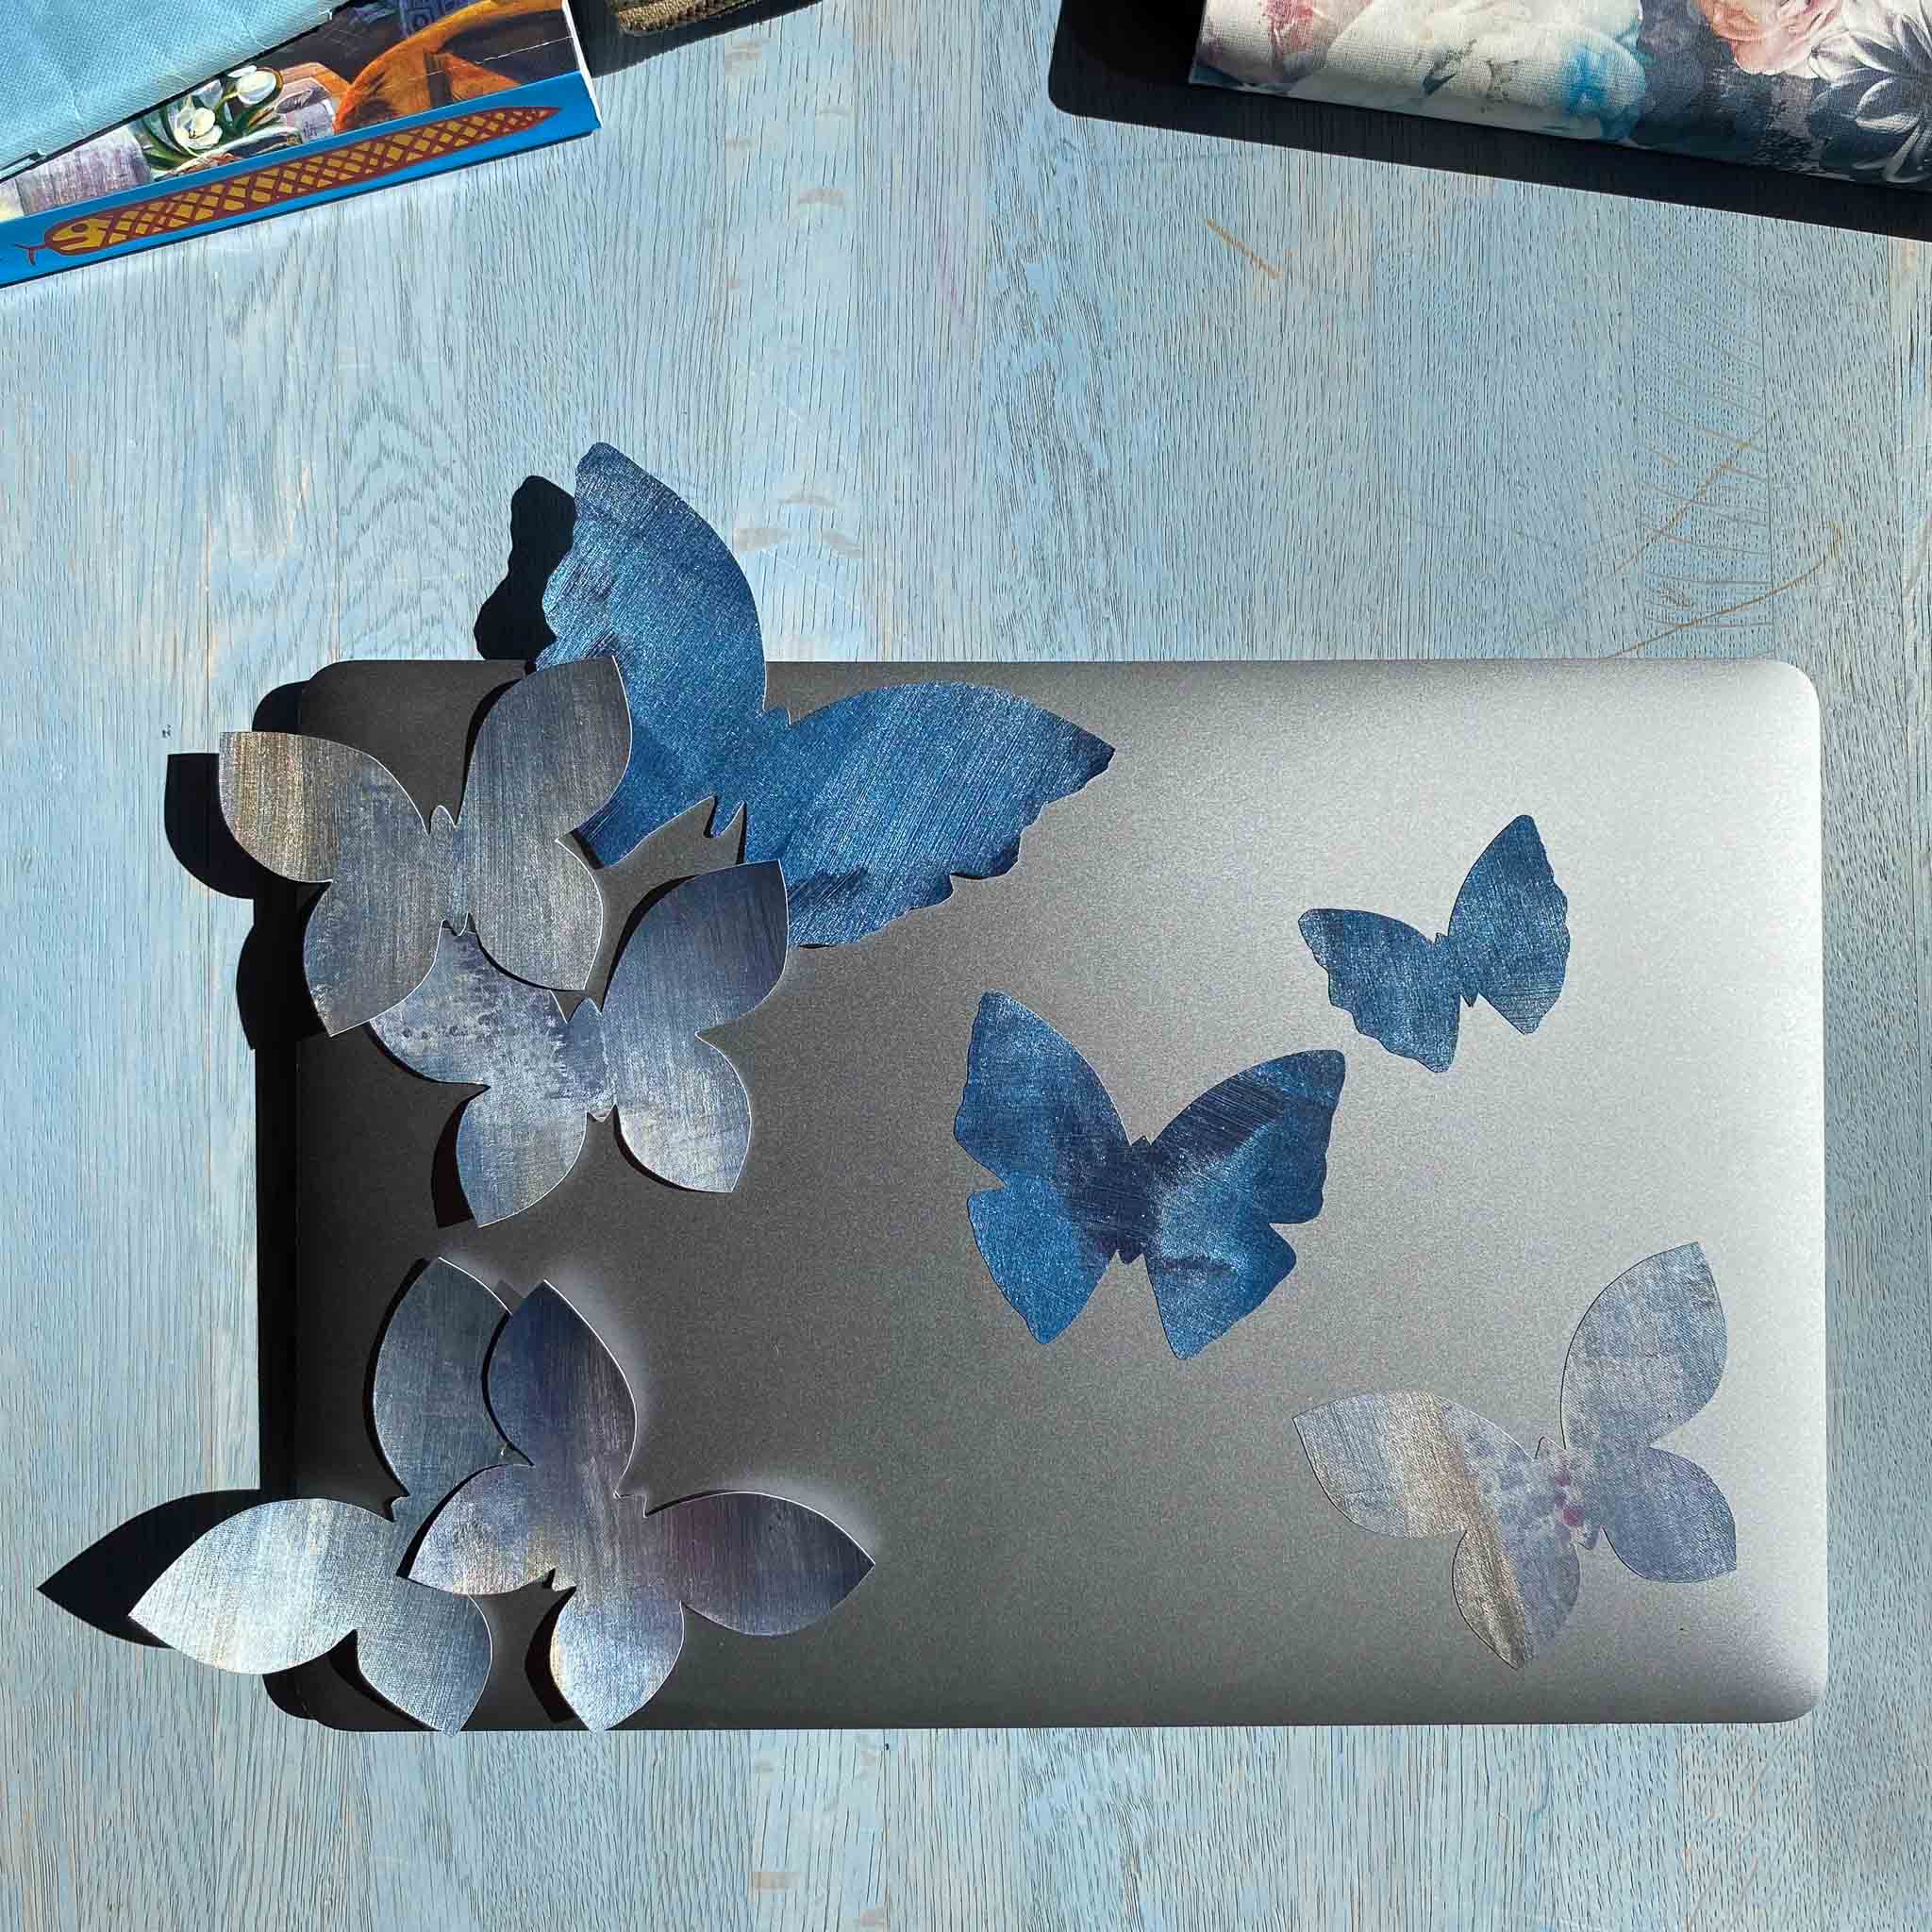
Peel back only 5 to 10cm of the backing paper, stick that section down, then peel a little more as you go, smoothing outward from the centre with your hand. If you peel the entire backing off at once and it's a large motif, air pockets can form.
4. Smooth from the centre outward
Press the piece firmly against the surface. If a section comes loose, just press it back down again. The adhesive bonds fully after 48 hours. Go over each section several times to make sure the adhesive has gripped the surface.
5. Fix a bubble immediately, don't wait
If you spot a small bubble right after applying, you can usually work it out by hand — press from the bubble's edge toward the nearest border of the piece, coaxing the trapped air out rather than toward the centre. For a stubborn bubble, gently lift just that corner of the piece back up, smooth the surface underneath, and reapply from that point outward. Because these pieces are designed to be repositioned, lifting a section to fix it doesn't damage the adhesive the way it would with traditional pasted wallpaper.
6. Working around edges, doorframes, and corners
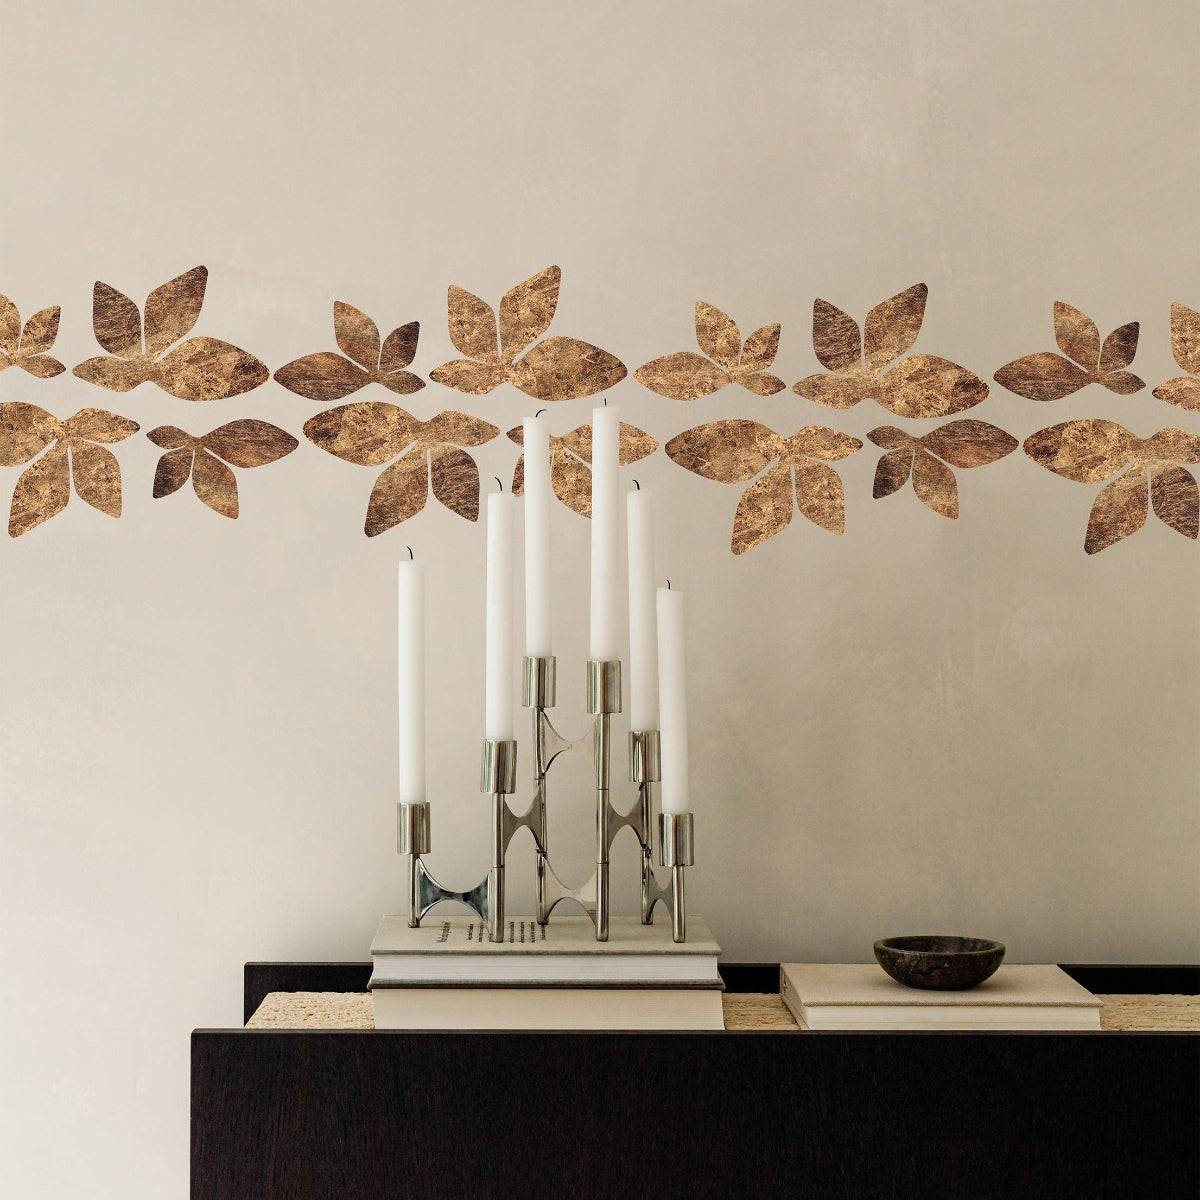
Smaller decorative pieces are actually easier to work with — you can frame a doorway or mirror with individual leaf or branch pieces to fit an awkward edge. A gold leaf ornament set, for example, is designed to be applied piece by piece around a frame rather than as one continuous strip, which makes corners far more forgiving.

Shop the look
GOLD LEAF wall decal (ornament)Set of 8 hand-painted leaves (4 large 17cm, 4 small 13cm) applied piece by piece — good practice for beginners since each piece goes on individually, ~120cm total as a border — from 450 DKK
7. If you get it wrong, take it off and try again
This is the smart part of self-adhesive textile wallpaper: it lifts off cleanly, without tearing the wall surface or leaving residue behind. If a piece goes on crooked, or a bubble won't cooperate, peel it up slowly and reposition it. You get more than one attempt, which is not something traditional pasted wallpaper offers.