
Setup guide
See how Julie has installed her wall decoration in the entrance hall.
Installation video
Julie Blichfeld has installed the Soft Garden design in her gray entrance hall in a classic Copenhagen apartment.
STEP-BY-STEP
- The wall must be wiped clean of dust and any new paint must be fully cured.
- You can find inspiration for ways to install the decoration on the product page, or you can create your own layout that suits your interior design and style.
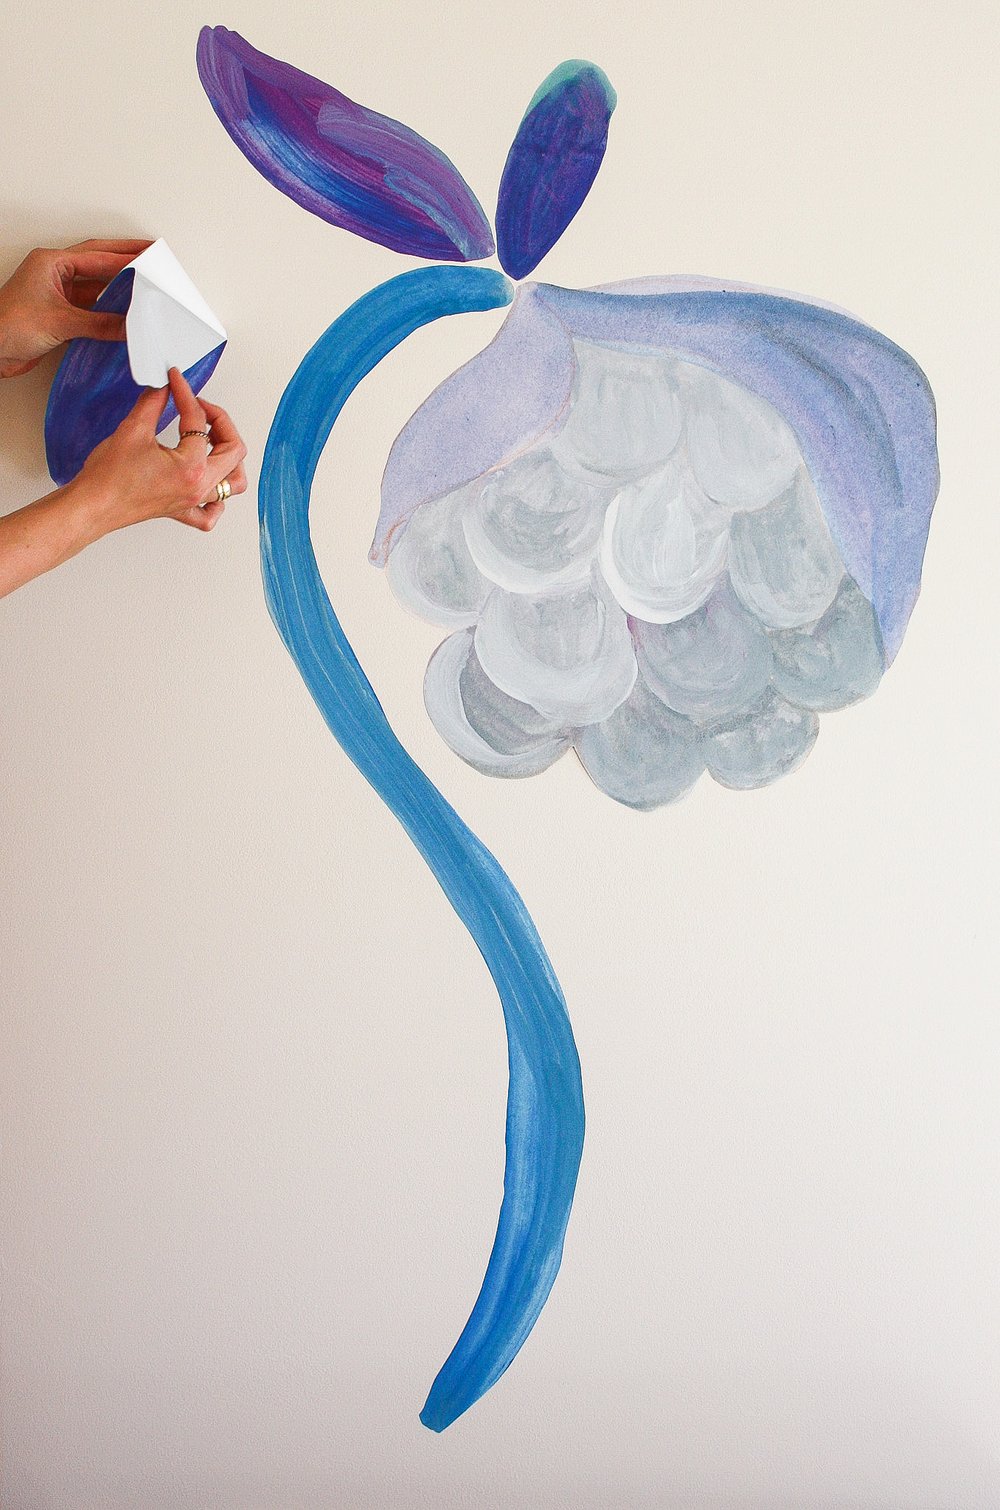
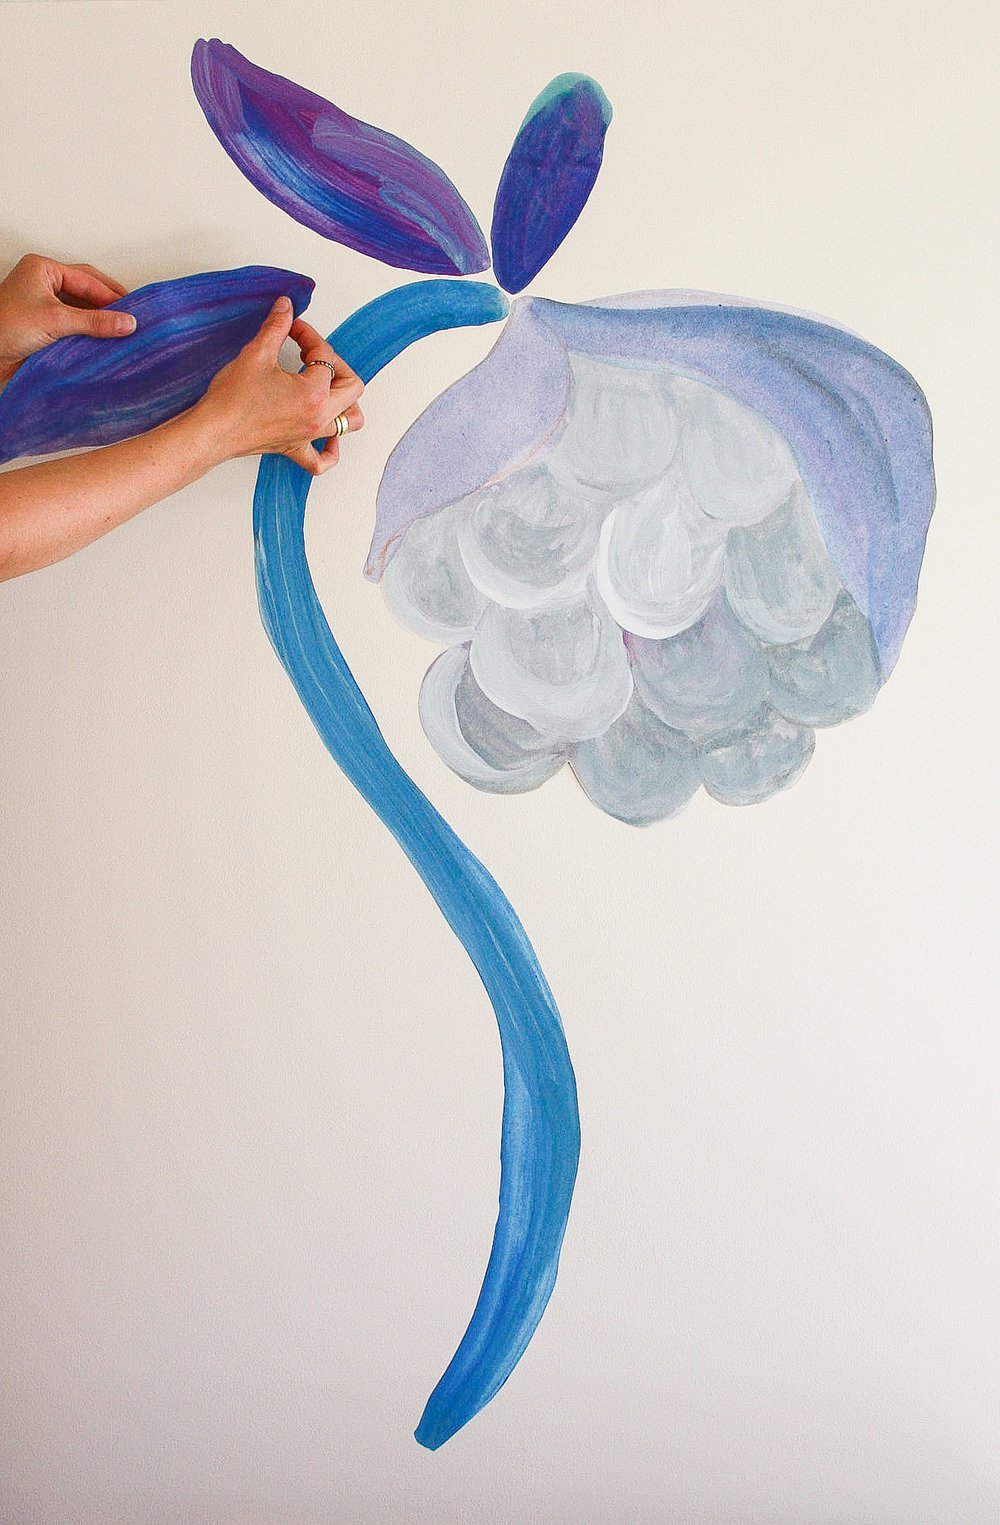
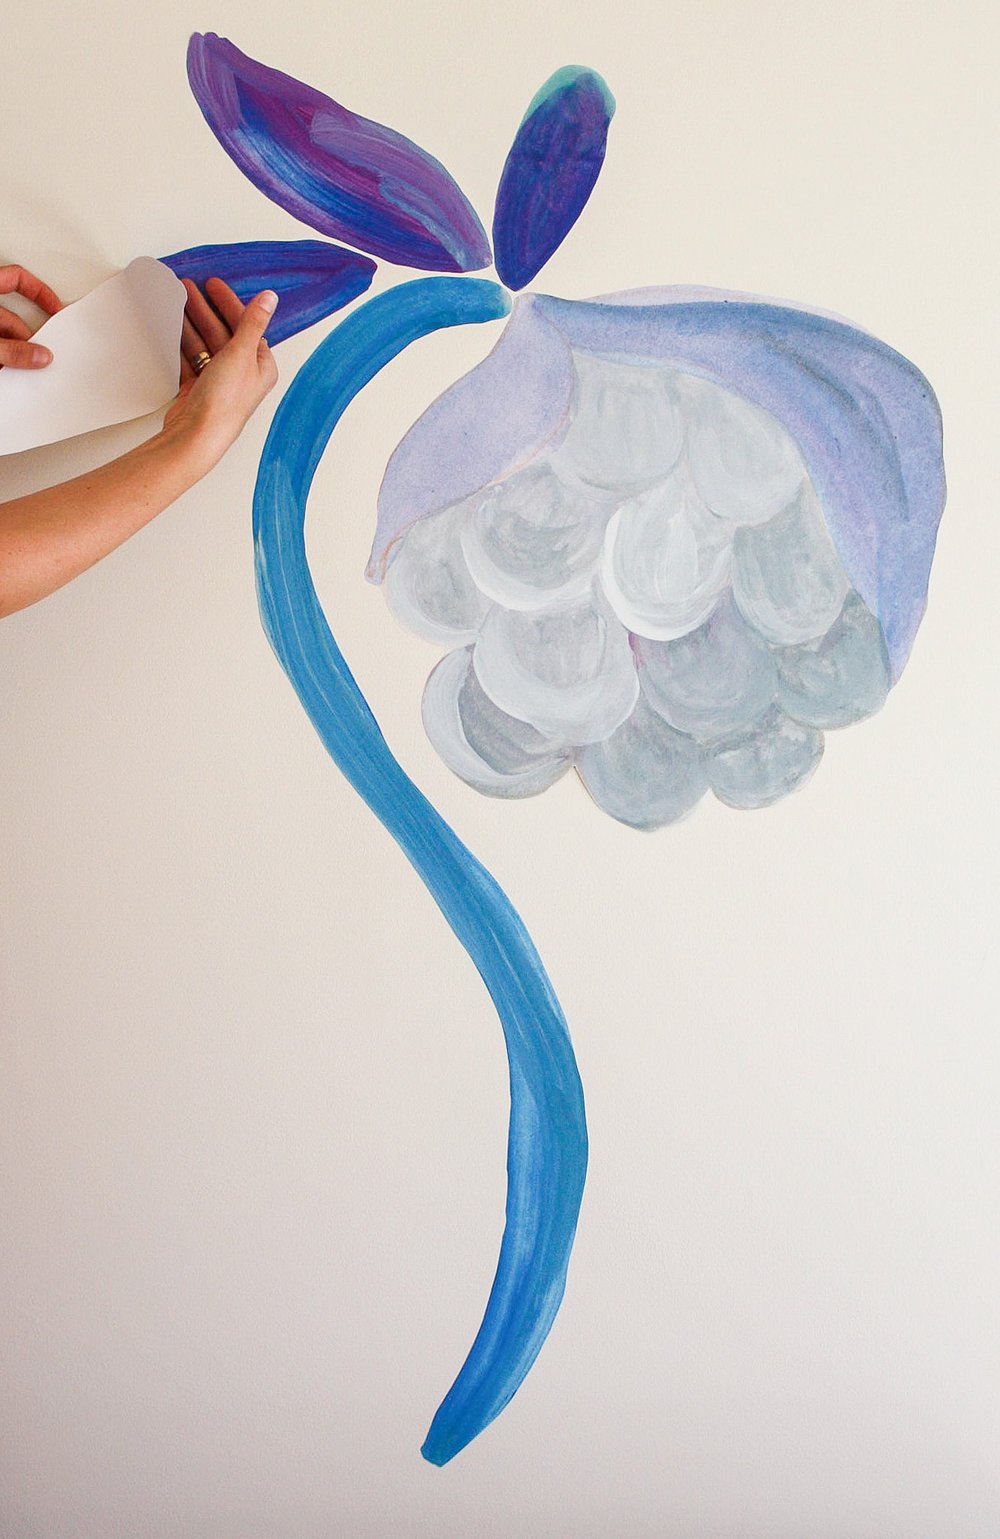
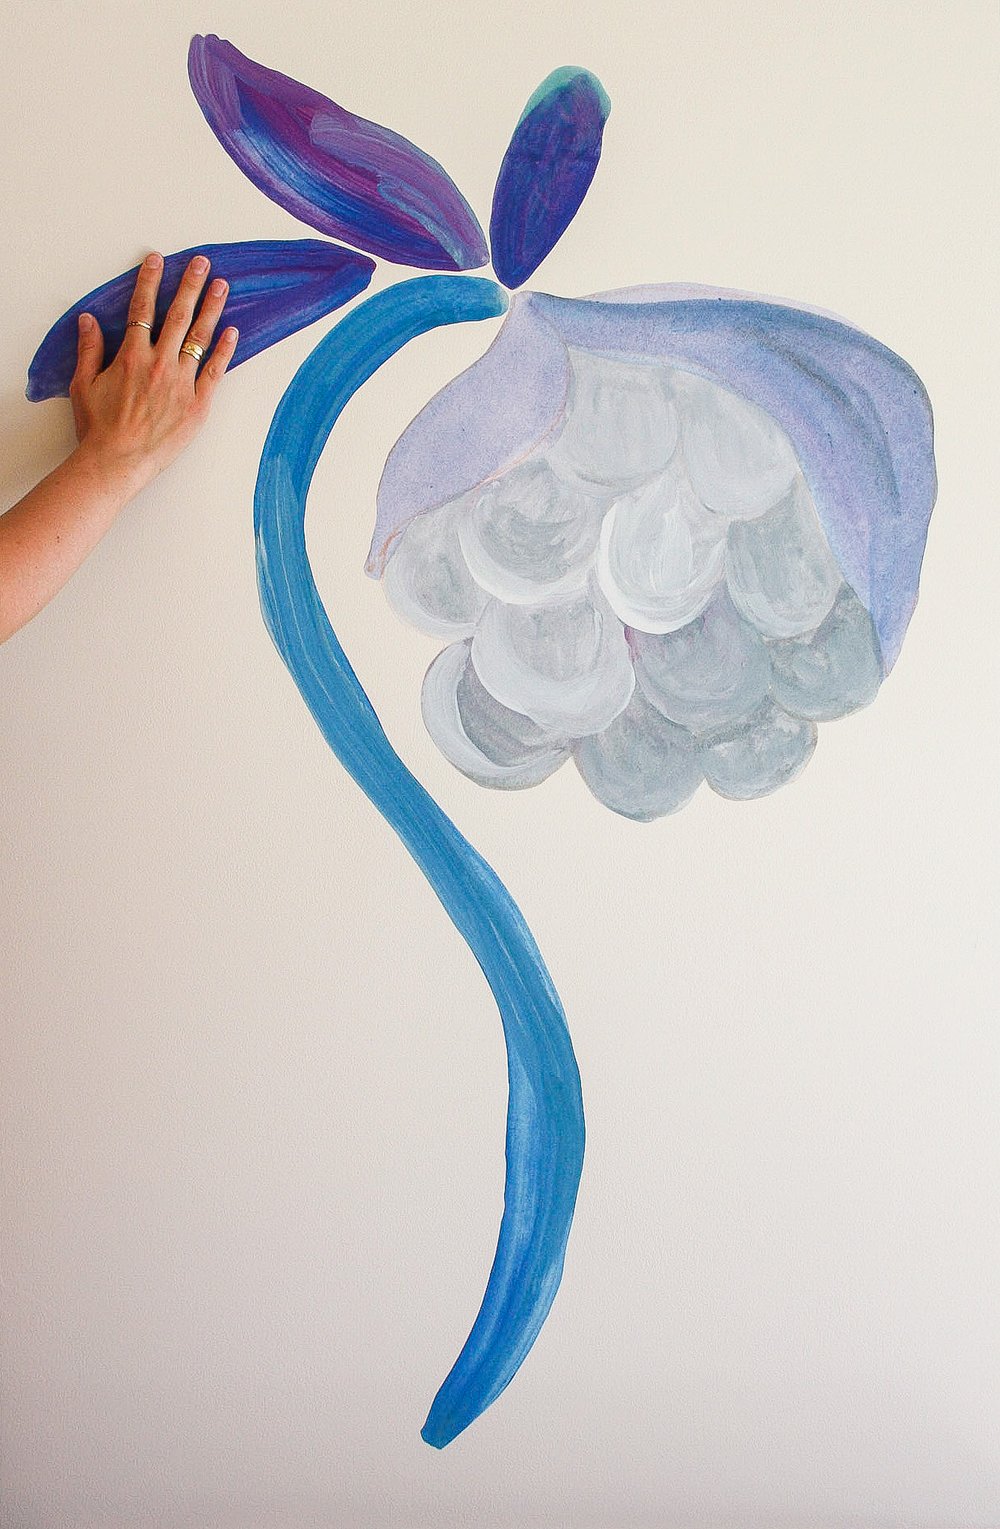
- First place the decorations temporarily with the included adhesive pads.
- Remove the back of the wall sticker and smooth it out on the wall with a flat hand.
- Finally, press all elements firmly against the wall to make sure they adhere well all over.
- Voilà! You have now installed your wall decoration
Tonka Paper's wall decoration is installed on a smooth, dry and clean surface. Before installation, check the wall for unevenness and dust it with a cloth.
It is not recommended to install on sawdust wallpaper or other textured wallpaper. Can be installed on walls, ceilings, furniture, etc.
The wall decoration will have difficulty adhering to highly washable paint and paint containing silicone and wax.
Note: A freshly painted wall may feel dry, but will only be fully cured after a few weeks. Exterior walls that are not insulated and fall below 10 degrees can become so cold that the adhesive will not adhere. In this case, the wall can be heated before installation. The adhesive will achieve optimal adhesion after 48 hours.
The decorations are rolled out and laid flat so they can be straightened, preferably a few days before installation.
Adhesive pads are included to experiment with different temporary installations.
On smaller decorative elements, the entire backing can be removed before placing. For larger or more complicated decorations, installation can be made easier by only removing a little of the backing at the top and pulling off the rest while smoothing the wall sticker onto the wall.
Avoid air pockets by smoothing with your hand during setup.
The elements can be moved with care during installation. However, the adhesive will collect dust and dirt and thus have poorer adhesion.
Once the decoration is in place and air holes have been smoothed out by hand, apply even maximum pressure with a soft wallpaper edge roller or simply with your hands. Press firmly against the substrate, especially along the edges, in movements from the center outwards. Do not rub along the edges of the wall sticker as this will damage the textile surface and the adhesive may trap dust.
The self-adhesive wallpaper leaves no traces on the wall.
For questions regarding suitable substrates and installation, please write to info@tonkapapers.com
The wall decoration material, a self-adhesive wallpaper, is fire-approved according to the European classification EN 13501-1. This means that the material has been fire-tested and approved for use in public places.